
White Overshirt

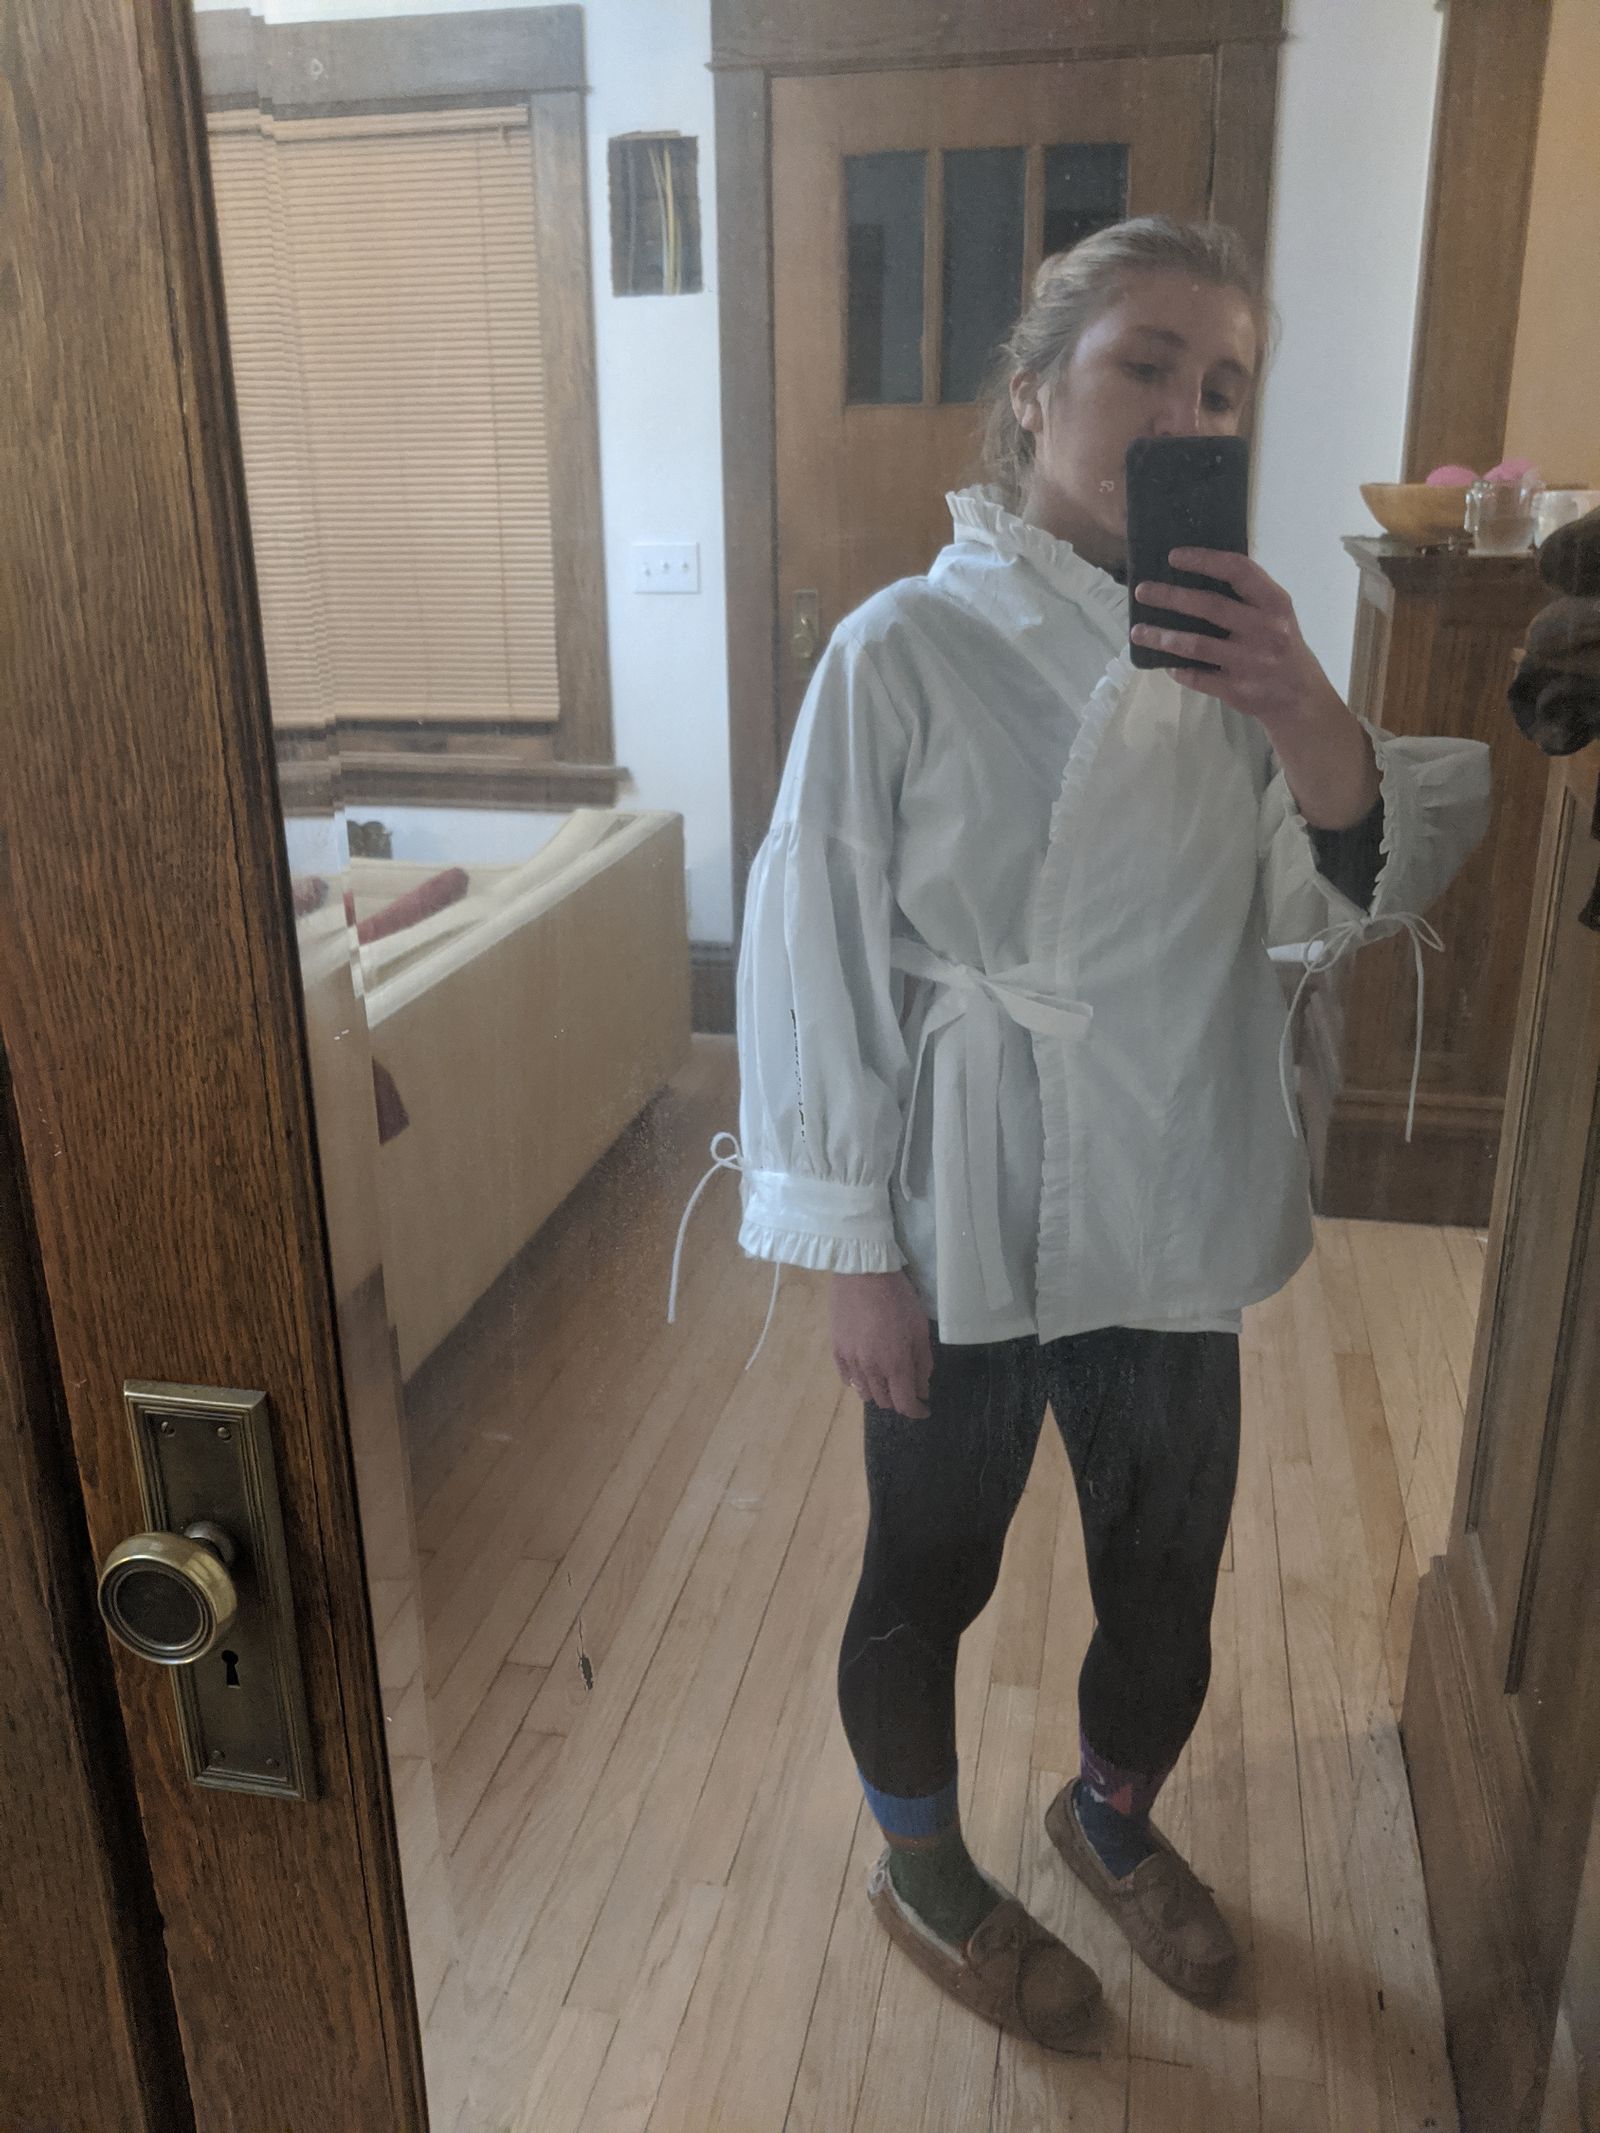
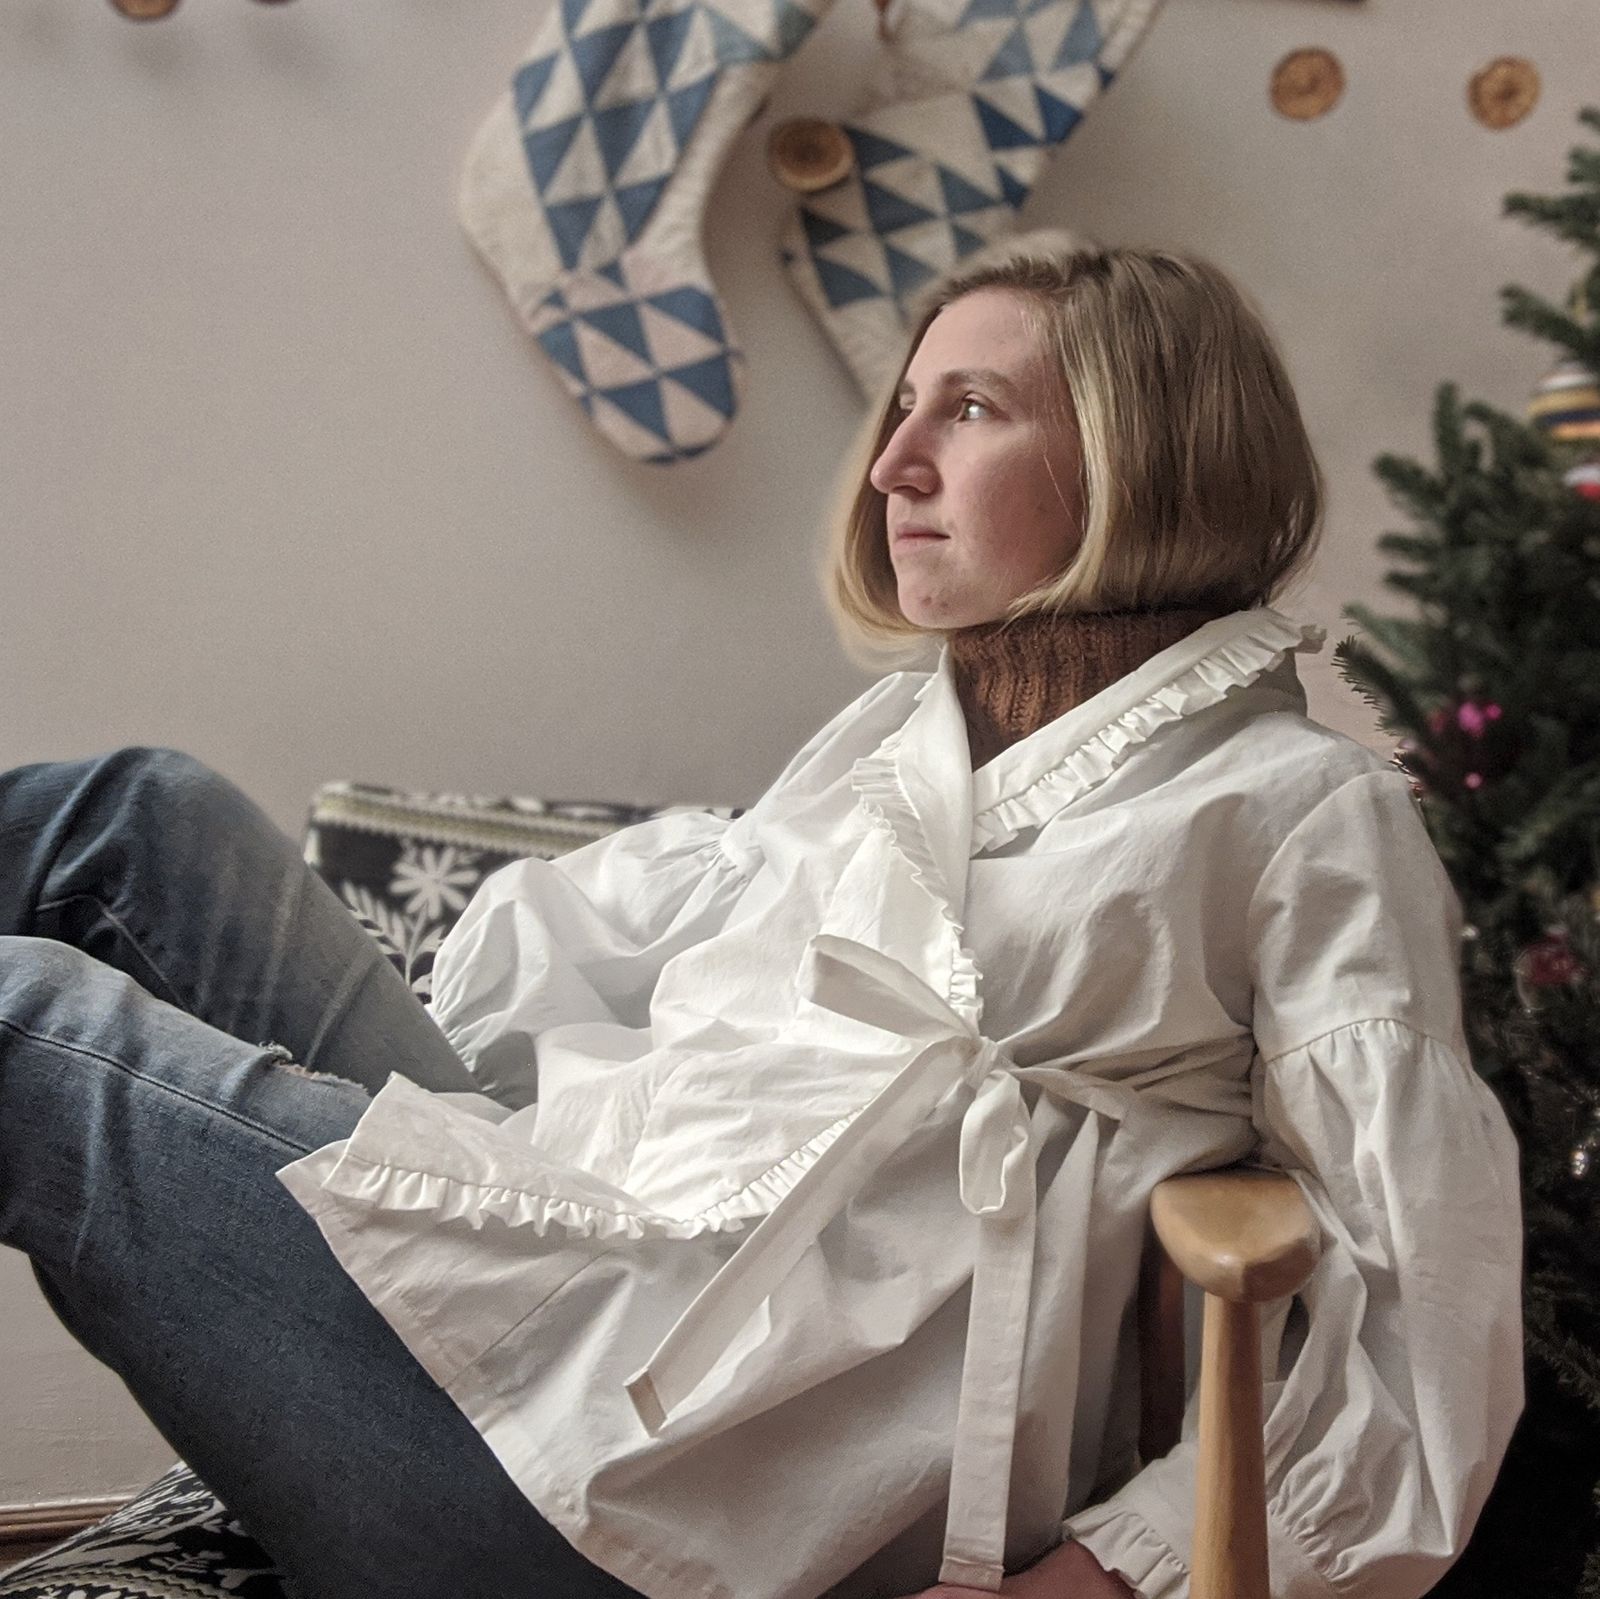
I saw a similar shirt on Mette of PetiteKnit and LOVED that is a white shirt I could actually wear in the winter since it will fit over a sweater!
The original/inspiration shirt is made by Atelier Sardin, a Danish line. I like how iterative their designs are — you can tell everything starts with a similar basic idea but she tries slightly different details. I do feel badly ripping off small designers like this sometimes. It looks like she does a great job making a quality product and I just steal the ideas and do it myself. In reality, I literally do not spend money on ready to wear clothing anymore (except undergarments and winter gear) so it's not like I'm buying hundreds of dollars worth of fast fashion and then bemoaning not being able to afford one nice thing instead. Anyway! It's complicated.
This jumped the queue since I couldn't stop thinking about it and I knew it would be relatively easy to make. Started with the Deer and Doe Nenuphar which is a surprise favorite go to of mine.
If you like this look and want to do a little less pattern adjusting, starting with The Assembly Line Wrap Jacket might work well. It has raglan sleeves but you could still split the sleeve just under the armpit to add the gathered midsection + ruffle cuff. Widening the existing band piece and adding a ruffle would be easy.
Fabric
I bought enough of this for approx 2 undetermined projects and next time they have it in will probably buy more. I love to keep white shirting on hand as a staple — it will always get used and is super versatile!
Size
38
Fit Adjustments
None
Style Modifications
BODICE
Piece upper and lower back pieces together to eliminate back gather.
Extend the center front by a couple inches.
Remove .5" from inner neckline (or more if you want)
Remove the same amount from the back neckline
Redraw center front / neckline to a smooth curve.
FRONT BAND
Draft a new center front band. I did a 3" wide band, but think it would work nicely with a 2.5" band as well.
The front band on this pattern is basically just a continuation of the body. Lay a piece of tracing paper over the adjusted body pieces, draw your first line at the seam line of the front body and draw an even 3" band, then add SA to the edges. I made my neck band continuous (no shoulder seam) so you will have to pick up your tracing paper and overlay it over the back neckline to add that part. Don't forget to skip shoulder SA, and add a center back SA to join the two halves of the bands together.
HEM NOTES
My hem on the body is just 1/2" folded twice.
I assembled and hemmed the body before attaching the band. The bottom of the band was sewn closed RST at the finished length of the bodice and turned the right way out.
SLEEVE
Cut sleeve cap off at 1" below armpit on underarm seam
Mid sleeve
Mid sleeve is a rectangle. I was aiming for the length to be 2x the width of the cap opening, but decided to favor a fabric saving approach and each mid sleeve is just half the width of the fabric (~28") and 12" tall.
After sewing it up the 12" mid sleeve looks a little stubby/short on me. It is comfortable to wear since it leaves my hands free but I'd recommend making theid sleeve longer than 12" and flipping the cuff up if you want your hands unencumbered.
Sleeve cuff (cut 4)
Just a rectangle. Mine was 12"x3" finished.
*Note: double check what your finished sleeve length will be and that you'll be happy with it. Measure cap length+mid sleeve rectangle+cuff+ruffle
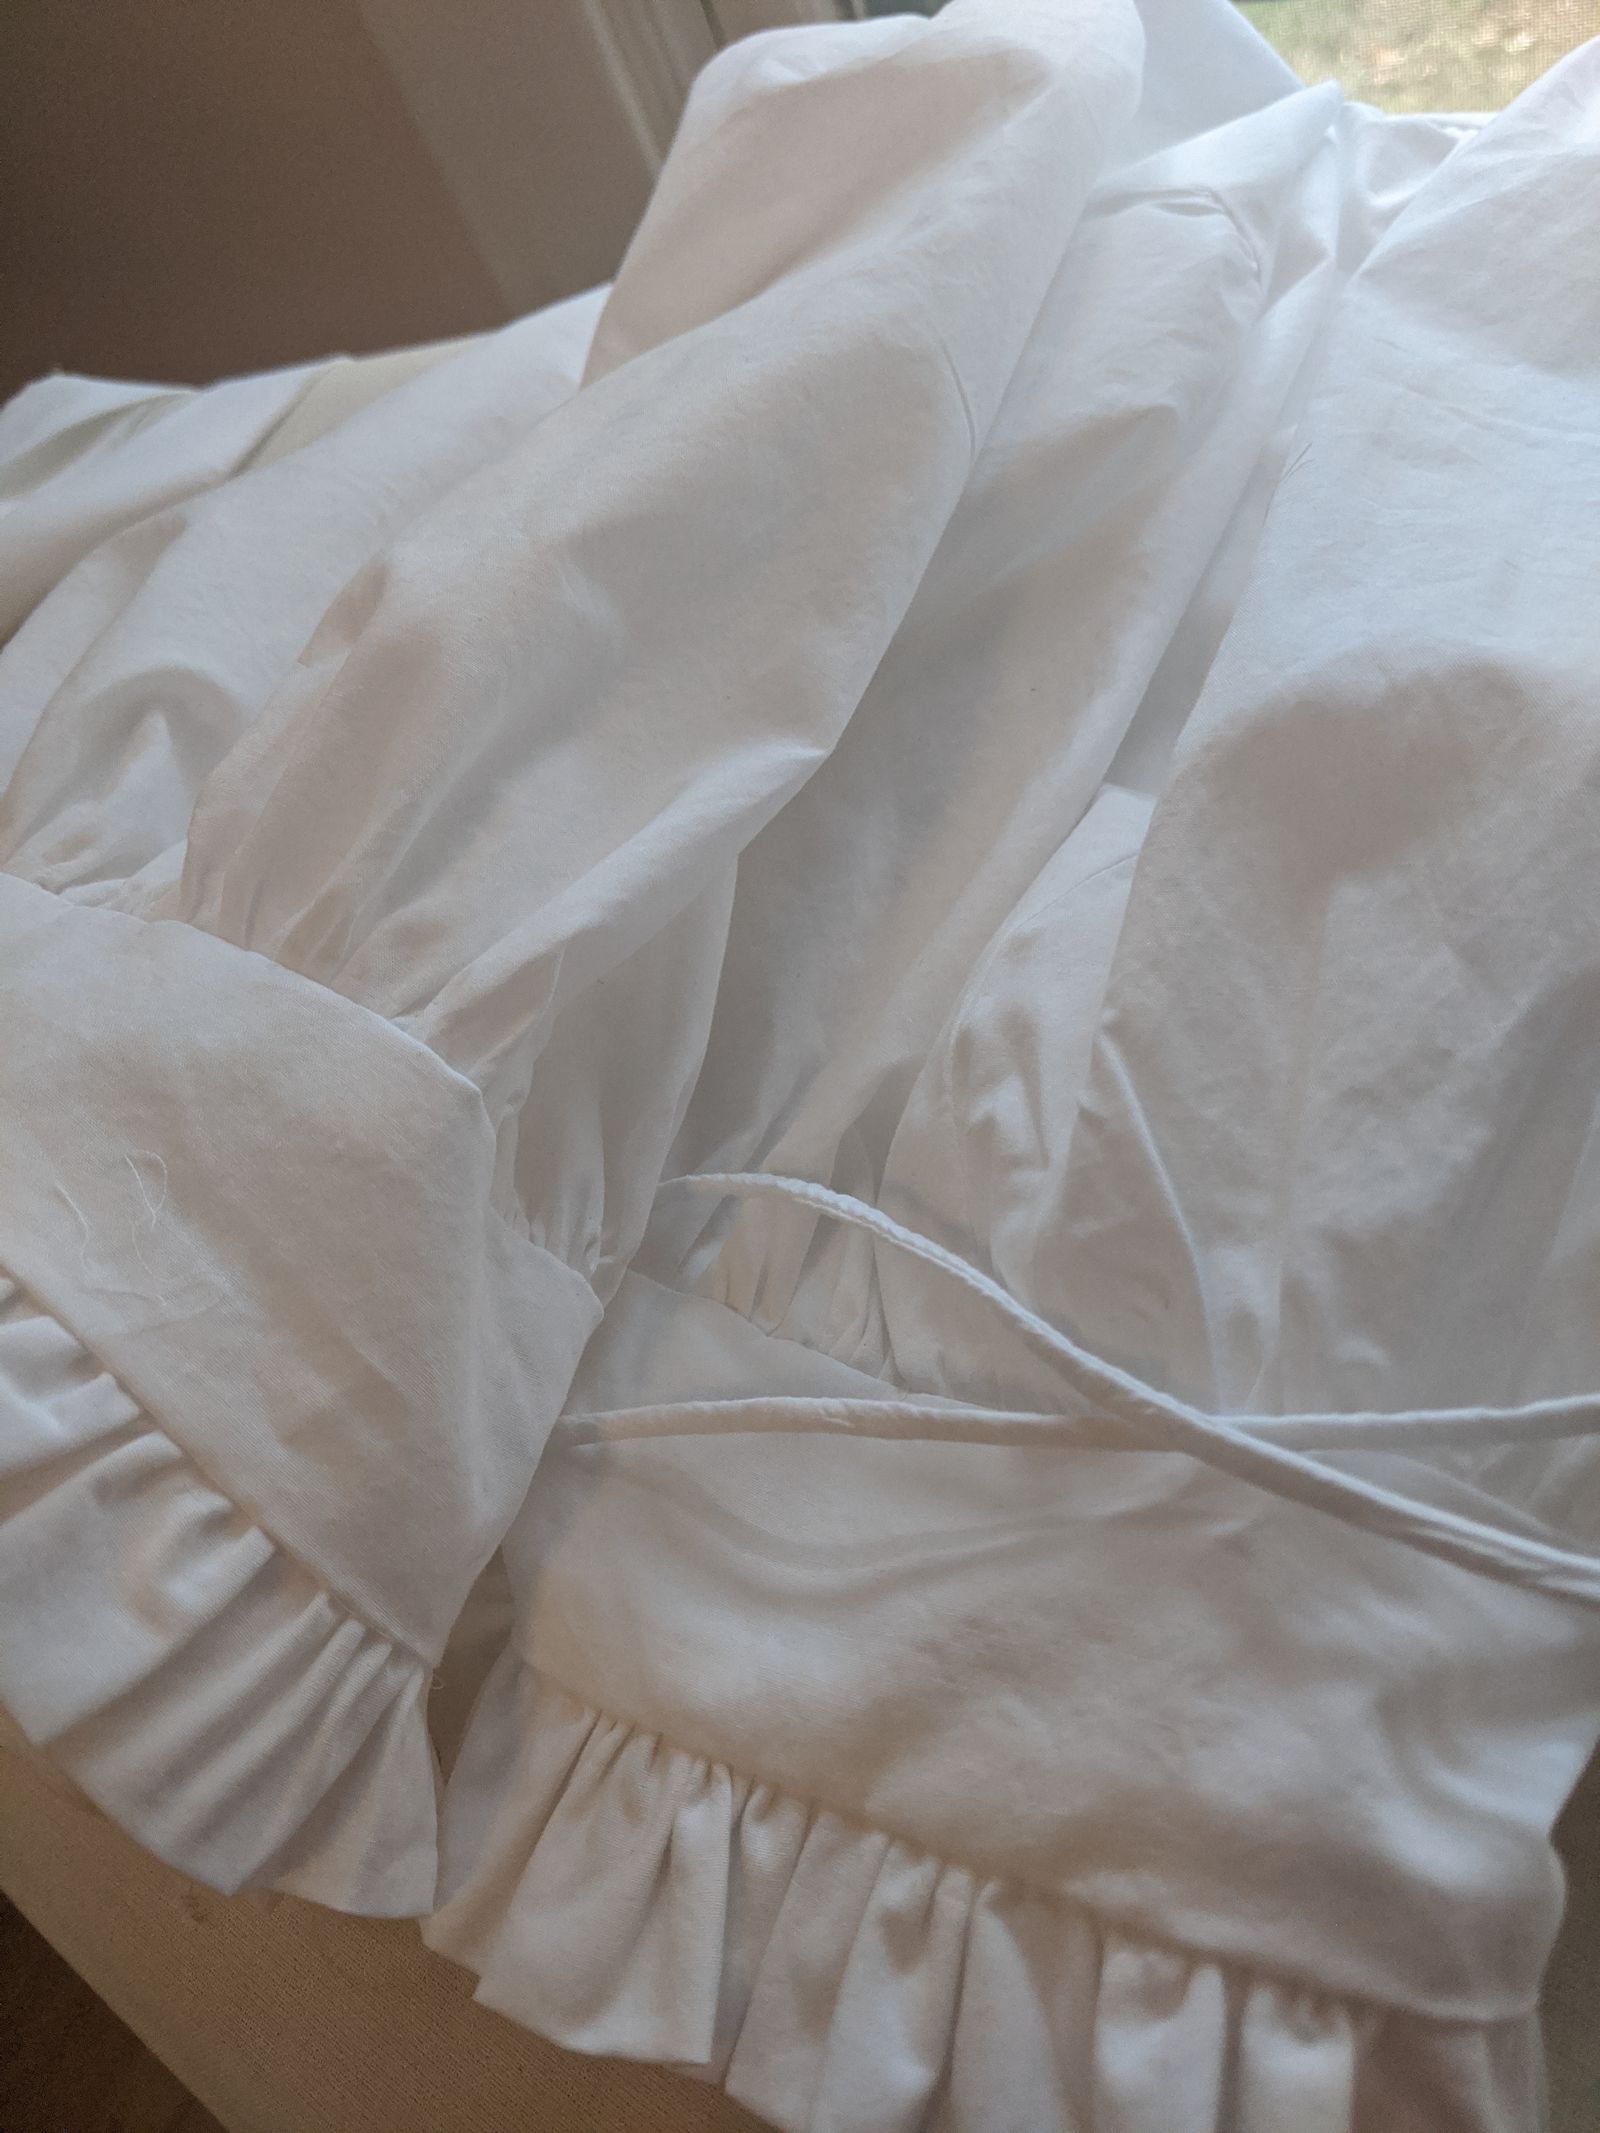
RUFFLES
General rule for this project was ruffles should be 2x the length of what they are attached too. All ruffles are rectangles and I ripped my fabric for speed.
All ruffles were 3/4" wide finished.
Ruffles were folded so I didn't have to hem the edges.
3/4" + 3/4" + 5/8" SA + 5/8" SA = 2.75" wide ruffle pieces
1 neck ruffle
Length of entire neckband piece x 2. I had to piece this together
2 cuff ruffles
Length of cuff x 2
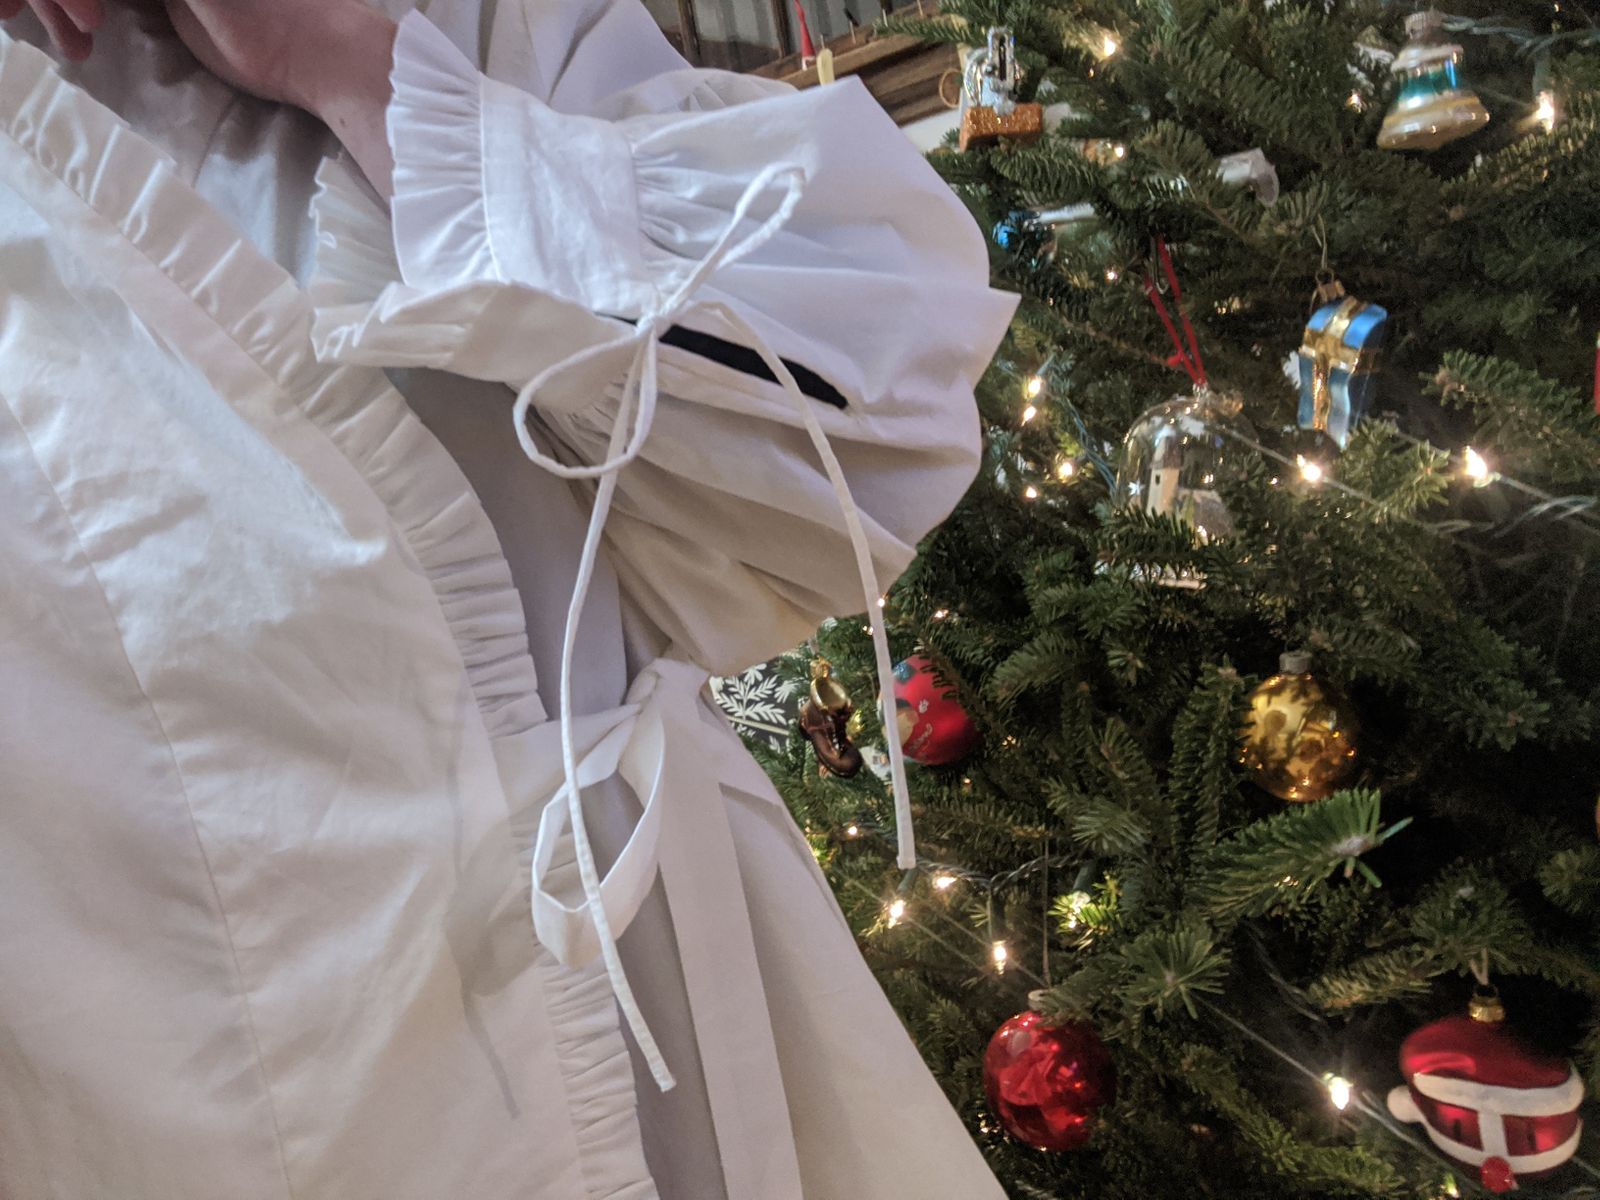
WAIST TIE
I had no plan for these. Just cut two identical strips from leftover bits.
ROULEAU TIES (on cuffs) without a loop turner
Cut 4 strips about 12" long and a lot wider than you think — maybe about 5" wide. It is WAY easier to work with a wide piece of fabric and cut off what you don't need than it is to work with itty bitty teeny tiny narrow strips. ALTERNATIVELY: Cut two 24" long pieces and there will be fewer pieces to turn 🙂
Fold the pieces in half so they are long and narrow.
Cut a double length of thread that is ~1.5x-2x the length of your pieces. Tuck this in the folded pieces so it's right up next to the fold. (This thread is to help you turn later. Doubling the thread makes it less likely to break.) You want the thread to be sticking out a substantial amount at each end. You don't want the thread be too long though otherwise pulling while turning could still break it.
Serge or sew the pieces together so there is 3-5mm of width measured from the fold. Do not sew over the thread you snuck up next to the fold.
I used a serger here for the all in one sew-and-cut and a little extra reinforcement.
After serging all my pieces, I trimmed down the seam allowance even more. I trimmed just outside the second line of straight stitching from the serger (so that both lines of stitching were left attached to my final piece)
You do want to leave a few mm of fabric in your seam allowance as it helps to fill out the tie and give it some 3D-ness.
After trimming, thread that thread you sewed inside the now skinny tube through a needle. Sew a couple stitches in to the seam allowance side of the tube to secure it.
Almost ready to turn! Getting started is the hardest part. I like to use a needle nose tweezer or my purple thing to ever so gently "shove" the first little bit through. Once I have a 5-10mm turned that way, it's pretty easy to wiggle it all the way through by pulling on the thread.
Finished the ends by dabbing them with some fray check — cheating? But so much easier than literally feeding them to my machine to eat and ruin.