
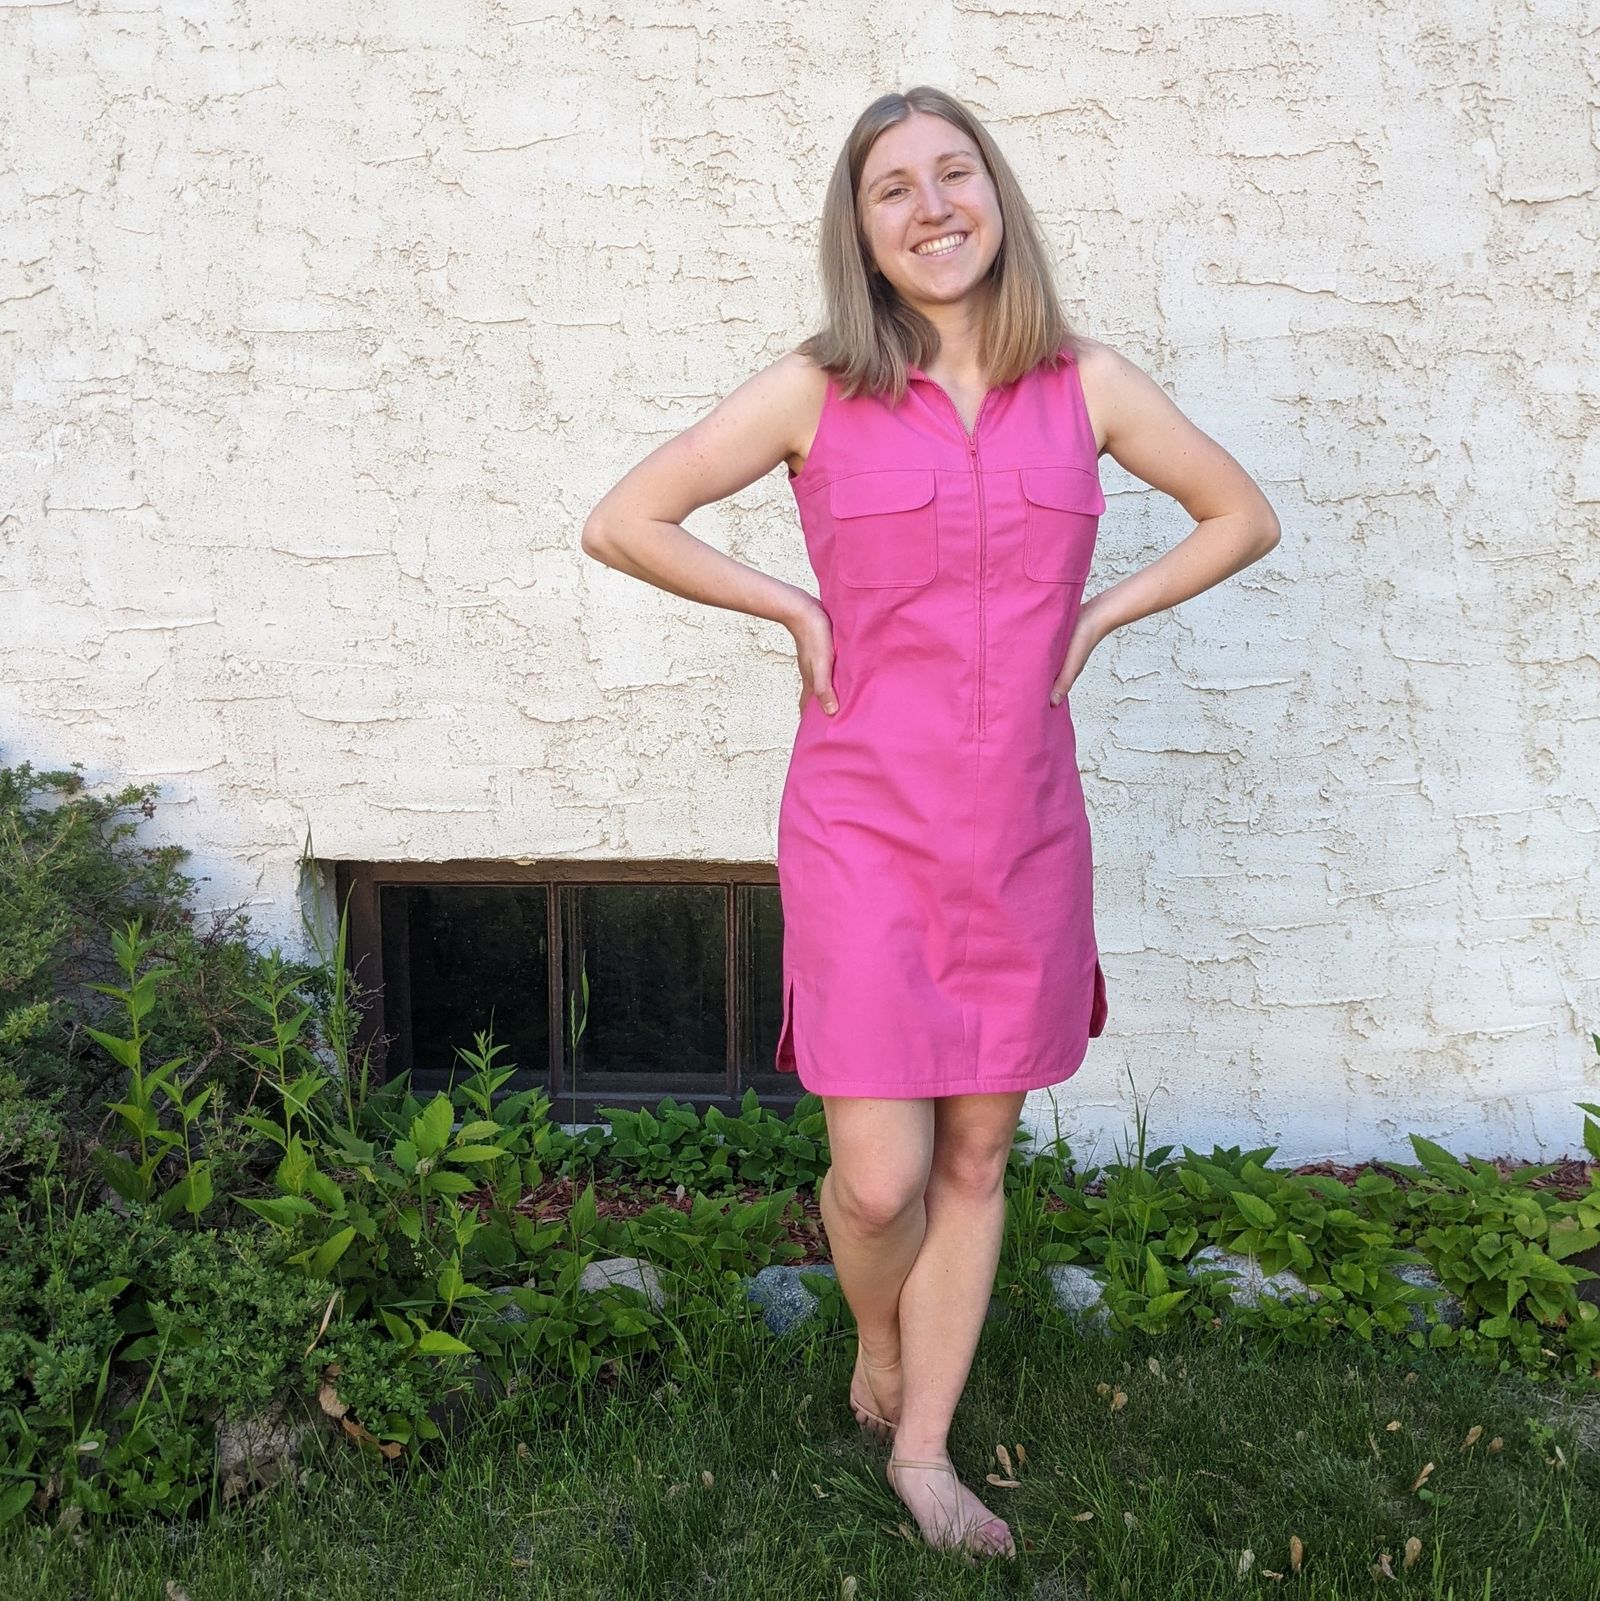
Pink Tennis Dress
Pattern
Vogue American Designer 1635
Penfold Tennis Dress
Size: 10 (Bust: 32.5", Waist: 25", Hip 34.5")
Got my copy at the Textile Garage Sale but it looks like there are a few copies for sale floating around on the internet.

My Measurements:
Height: 5' 1"
Bust: 34"
Waist: 26"
Hips: 36"
Clearly my measurements are a bit larger than the size 10 pattern I had. Notes on sizing/fitting below.
Fabric
Hot pink stretch woven from Sewing Lounge
This was in the sale bin so got a great deal on this wearable muslin.
Supplies
Zip: Wawak, #3 Molded Plastic, 24" in Hot Pink I wasn't paying super close attention and this isn't a non-separating zip. I still used it and everything worked out OK though. I don't see a non-separating zip in the size I wanted (#3) anyway. This could be made a non-separating zip by sewing in a new zipper stop. This Closet Core Blanca Sew Along post has some info on how to make a new zipper stop.
Topstitching Thread: Mara 70 in matching pink
Fit Adjustments
Lengthening
This might be the first time I have ever had to lengthen a pattern! The envelope clearly shows that this dress is going to reveal.. everything.. unless you got some matching spandex and did coordinating shorts which would honestly be super cute. I wanted to be able to sit in this so added some length. It doesn't quiiite have the same proportional look now, but I think it's still cute and I'll definitely wear it more than if it didn't cover my butt.
Sizing
This pattern size was a bit smaller than my measurements. It's pretty clearly drafted for a more rectangular body than I have as well, so I knew I was going to have to do some fitting work and potentially grade it up a bit throughout the body.
I took some finished garment measurements, compared to my own body measurements, and ended up adding some room to the side seams of the main bodice pieces to give myself some extra room to fit. I purposefully made my pieces larger than I knew I would need. I also increased the shaping at the center back — taking in the waist and adding room in the hips.
Made a muslin (photo below). Ended up taking in the waist at the side seams and CB, and took in the hips a bit at the side seam. When I was happy with the fit, I drew over the seamlines in permanent marker, seam ripped the muslin, and transferred new seam and cut lines to my pattern pieces.
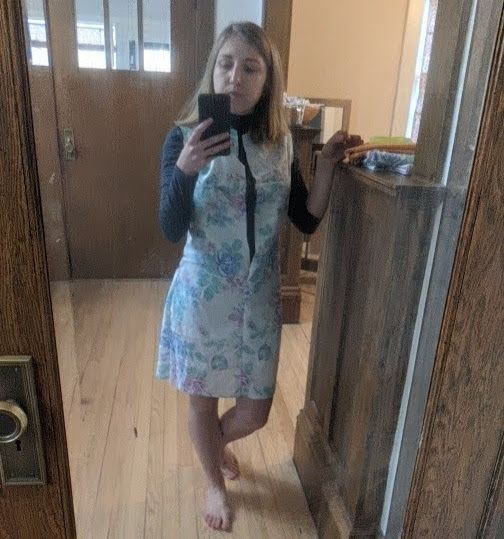
Not a very clear or helpful muslin photo actually.
Chest, Shoulders, Neck, Armholes
The chest, shoulders, and armholes fit just fine as-is so didn't have to work on those at all.
Next Time
Overall this ended up fitting pretty well! Getting a good fit through the small of my back and seat is harder when there is no waist seam to use. There is still some gaping at my CB and some tightness across the seat (probably an interacting/one issue causing the other type situation) so will work on that even more next time.
Construction Notes
Serged edges to finish before constructing
I don't always do this, but even though I made an actual muslin before this wearable muslin, I wanted the flexibility of being able to more easily work on the fit if necessary.
Zipper
I tried the zip instructions as given, but didn't like them so I ripped it out and started over. It has you leave the center front open, sew the zip to the seam allowances, flip to the inside, and topstitch.
I recommend using a method similar to the Blanca Flight Suit instead— basting the CF seam closed, basting zip to seam allowances centered over the CF seam, topstitching it in place, and seam ripping the CF open to reveal the working zipper. The tutorial calls for hand basting the zipper to the seam allowances which I definitely recommend. After hand basting, I also machine basted the zipper to the seam allowances for even more stability.
Note: this dress pattern calls for the zipper to be applied to the collar, while the Blanca zip stops at the collar, so there would be some decisions to make about how far to extend the zipper, as well as how to finish the collar and zipper facings.
Zipper Facings
After ripping out the zipper after my first try, I got frustrated with dealing with the facings and just removed them. The Blanca doesn't have facings (it does have an optional zipper shield, which I didn't want to add to this dress) so I figured I'd get by fine without them, and I did.
Next time I'd maybe figure out a way to add them back since it'd be nice to have a clean finish on the inside covering the zipper tape.
Zipper Stop Reinforcement
The pattern calls for adding some scrap fabric to the CF seam where the zipper stop is for some extra reinforcement. I honestly don't think this would be necessary if using a relatively stable fabric?
Hem Facing
Nobody wants to turn under a hem with this much curve (which is what the instructions say to do..?) So I made a small little facing instead.
Second Version Plan
I intended this version to be a wearable muslin and it succeeds in that. The ultimate/next version will be designed around an amazing vintage zipper I have — the zipper tape is red on one side and blue on the other, and the zipper pull is a large enamel circle. The main fabric will be in a yet-to-be sourced white ponte/sturdy knit or sturdy stretch woven. I'll have to change the zipper installation method for maximum zipper visibility since it is the main event. (Update: Found some rayon double knit at Metro Textiles I'm going to try!)