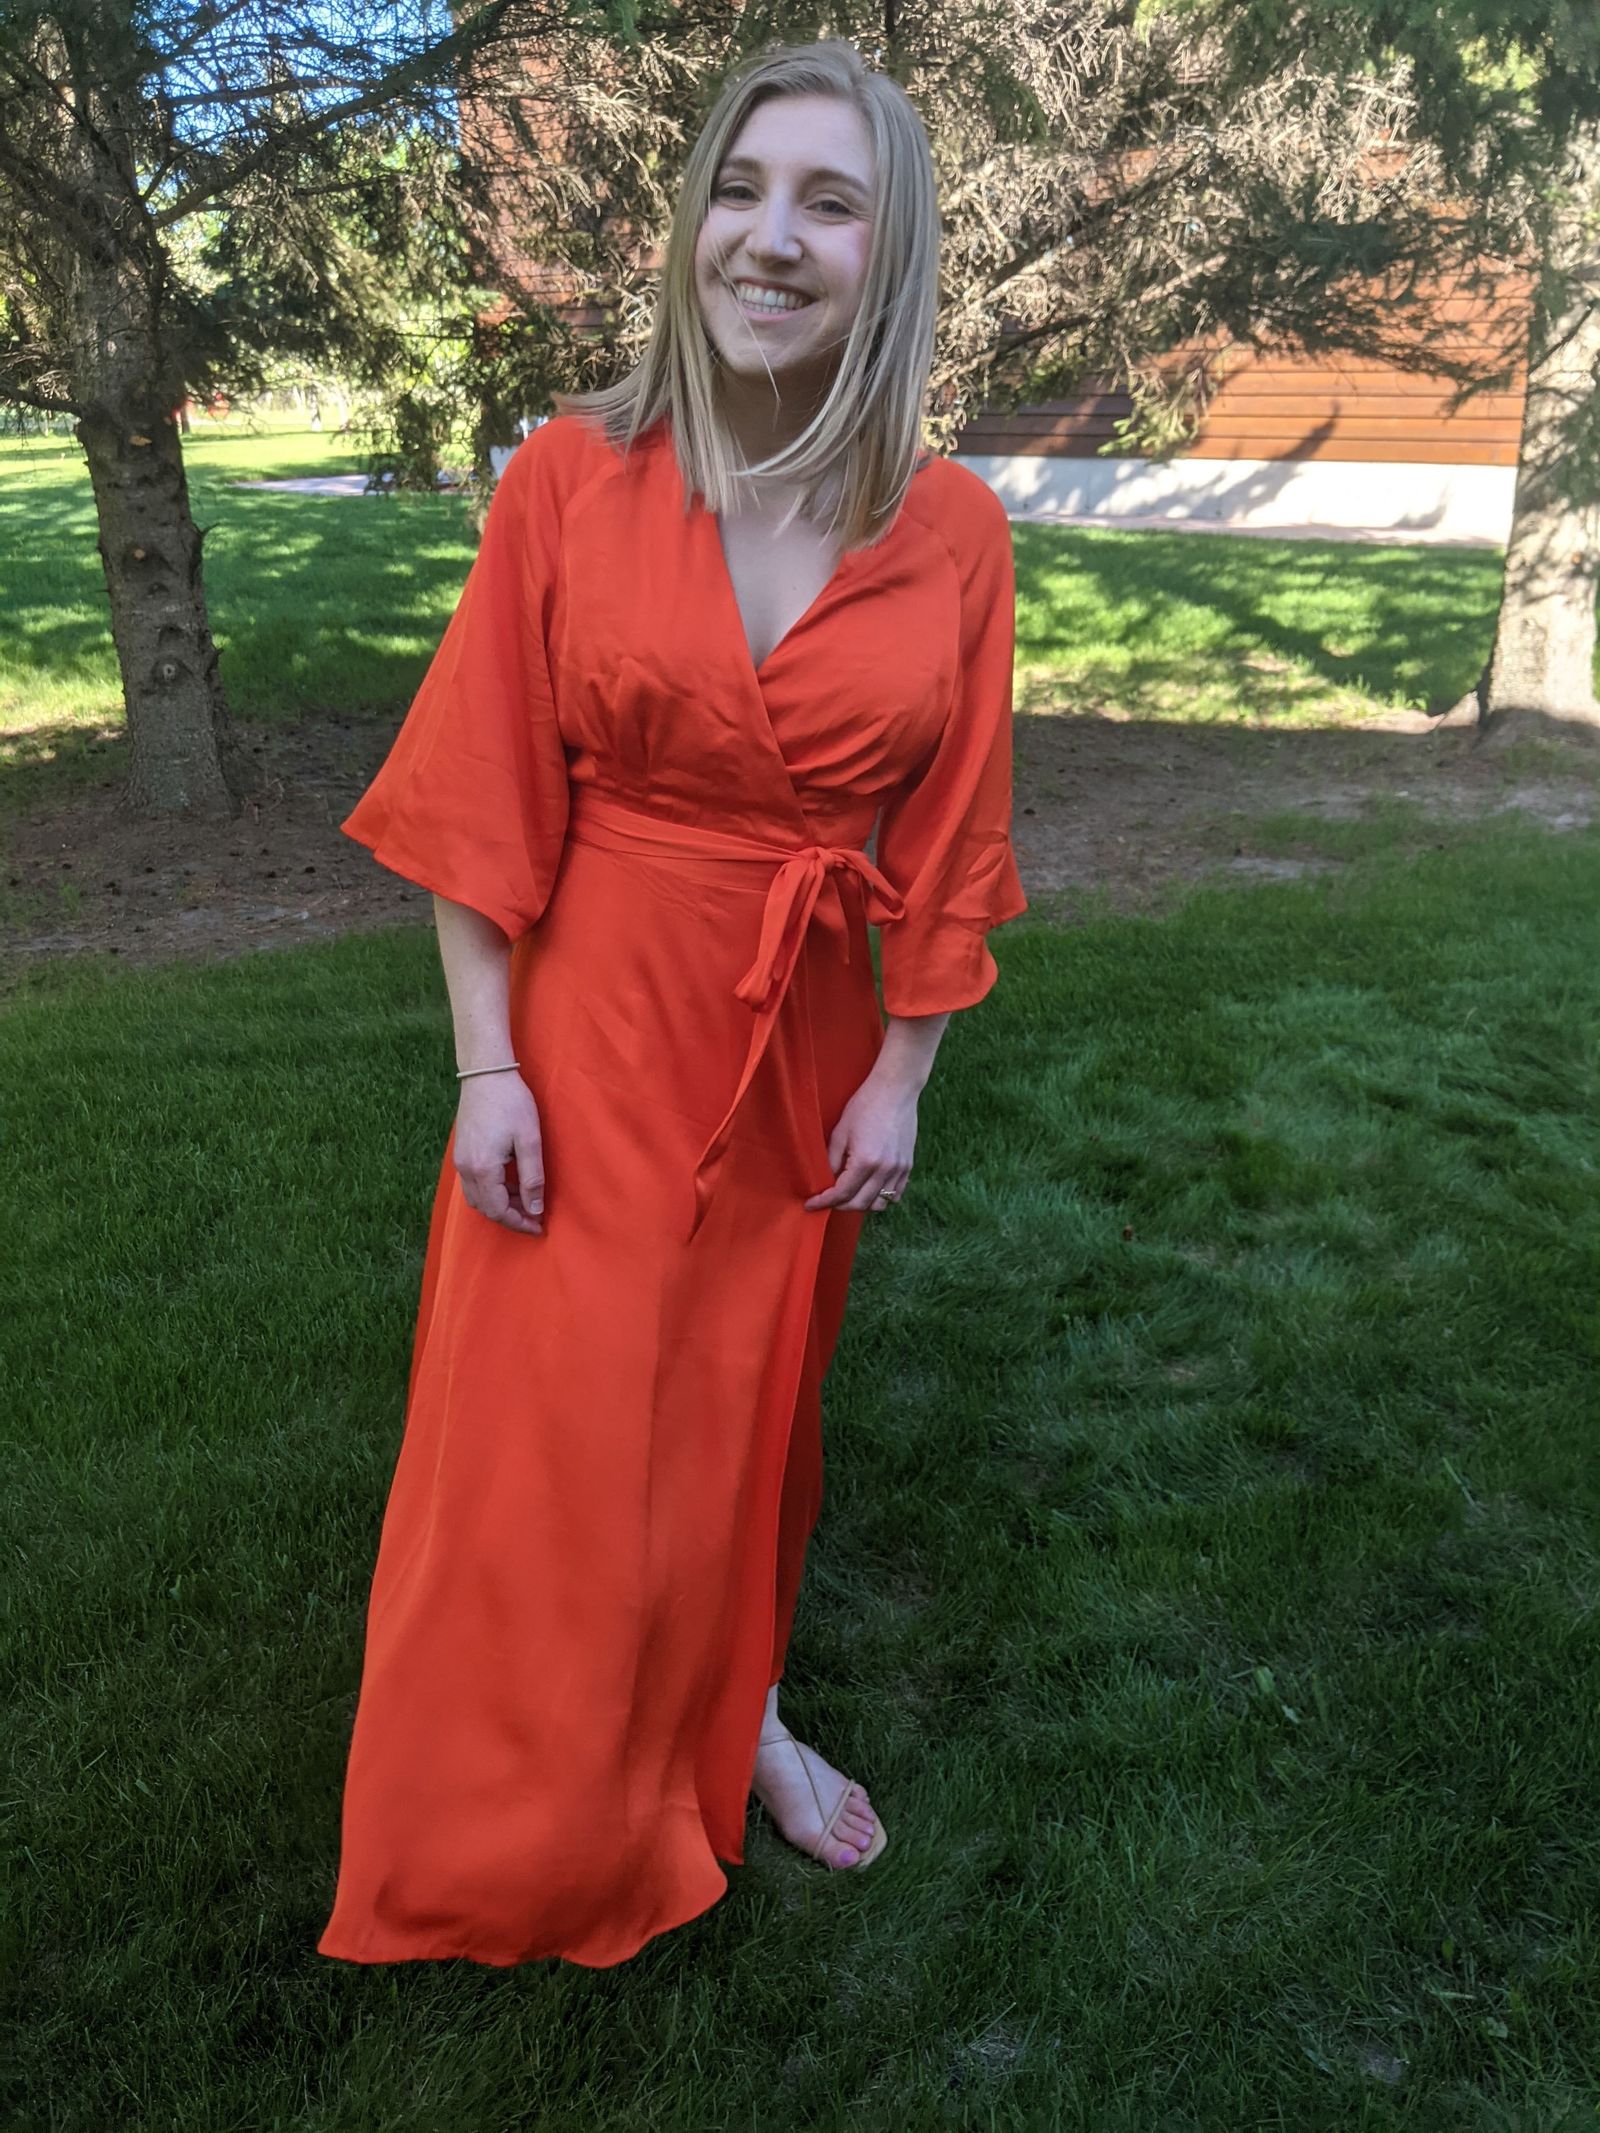
Elodie Dress

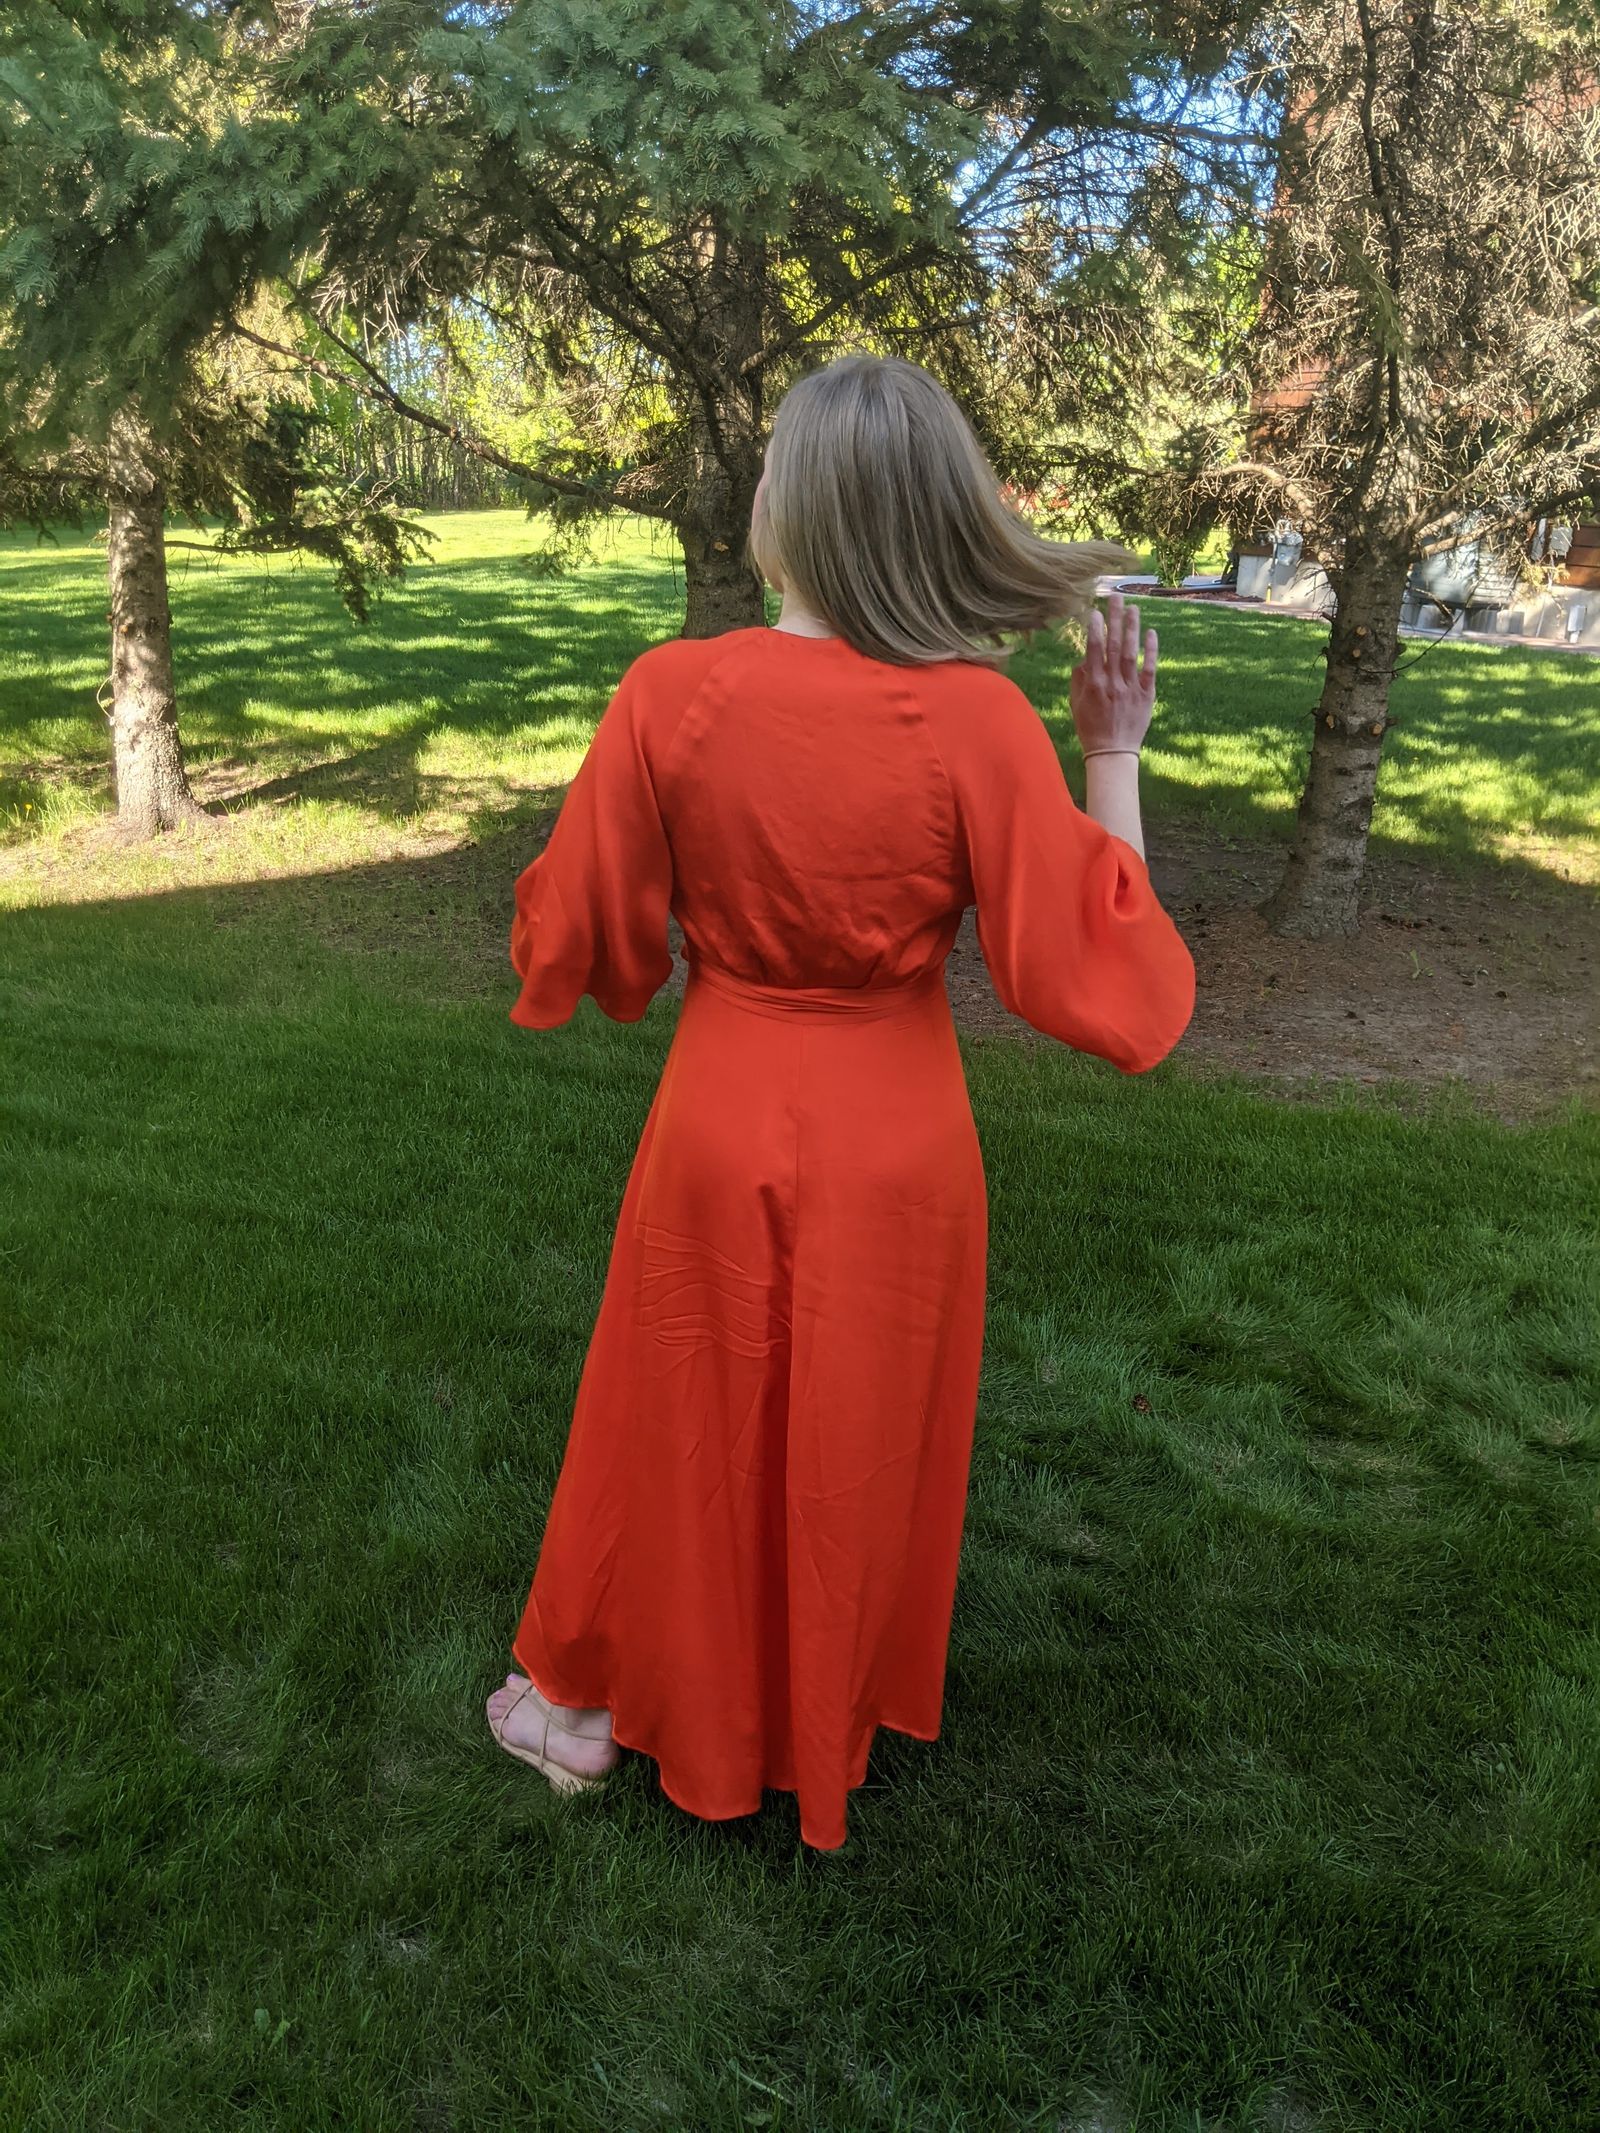


I love Closet Core and love a wrap dress so was looking forward to the Elodie release. Overall, I liked the detailing of the dress (release pleats, neckline, skirt), but was disappointed by the sleeve style — I just don't do drop/grown on sleeves. I still wanted to try it out and had some fabric that would be a good match, so "just" had to draft a new sleeve. I decided to try raglan and set-in sleeve options to see what worked best. I went with the raglan this time, but would consider working on the set-in sleeve some more and doing that next time.
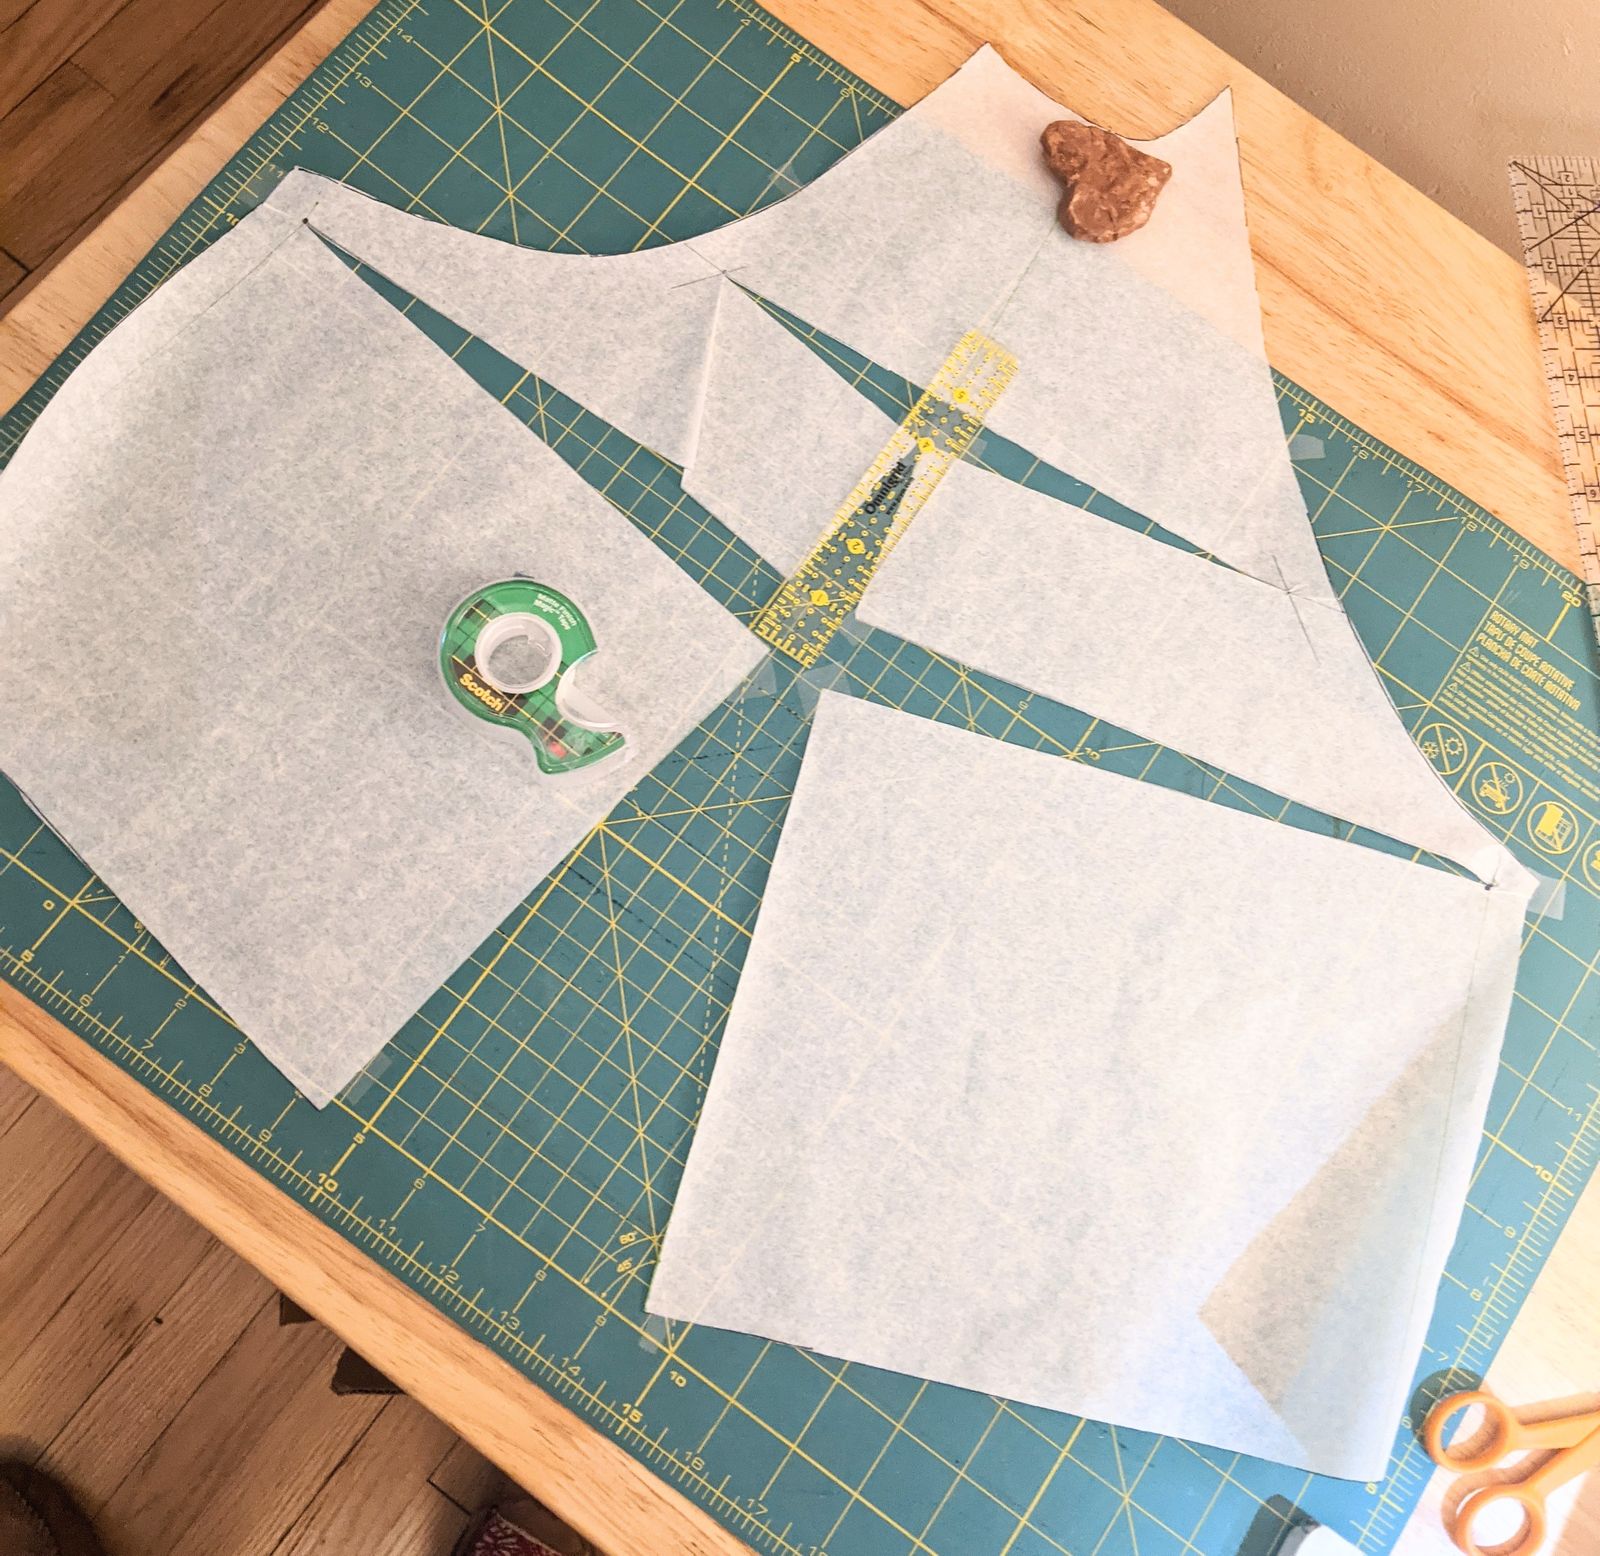
This whole process — drafting/testing new sleeves, fitting, cutting, sewing, finishing — start to finish took me about a month.
Measurements
Bust: 34"
Waist: 26"
Hips: 36"
Size
Based on my measurements I am mostly in size 6 territory, but I know that I can usually safely make the smaller of the two sizes my measurements span in relaxed fit Closet Core patterns. Since the Elodie fit is nice and flowy and the release pleats create some nice space in the bodice, I started with a straight size 4.
Fabric
Main: Amazing fire tomato power color, 100% rayon, weighty and tightly woven crepe, slight sheen on the right side, designer deadstock from Lakes Makerie. $11 a yard or something ridiculously reasonable for how nice it is. I prewashed warm and tumble dried and it still looks 100% as good as it did on the roll. It's magic?
I bought the very last of it, but I'm usually impressed with Lakes Makerie Deadstock selection!
Lining: Bemberg from Wawak. It arrives starchy, stiff, and concerning — but a prewash brings it to normal bemberg hand. I would have preferred a tan or more closely matching color probably, but I had the white bemberg on hand.
Set In Sleeve Option
It looks great and sits beautifully wrinkle free when my arm is down, but restricted movement. To make the set in sleeve work I would have had to raise the armhole by quite a bit. Since I already had a raglan sleeve I was happy with, going more rounds of revisions on a set-in wasn't appealing. Not going to go in to detail on how to draft a set in sleeve for this as it didn't work out, and there is enough existing set-in sleeve drafting content out there already. I really like how this looks though, so maybe next time would put in some extra time to make the set-in work.
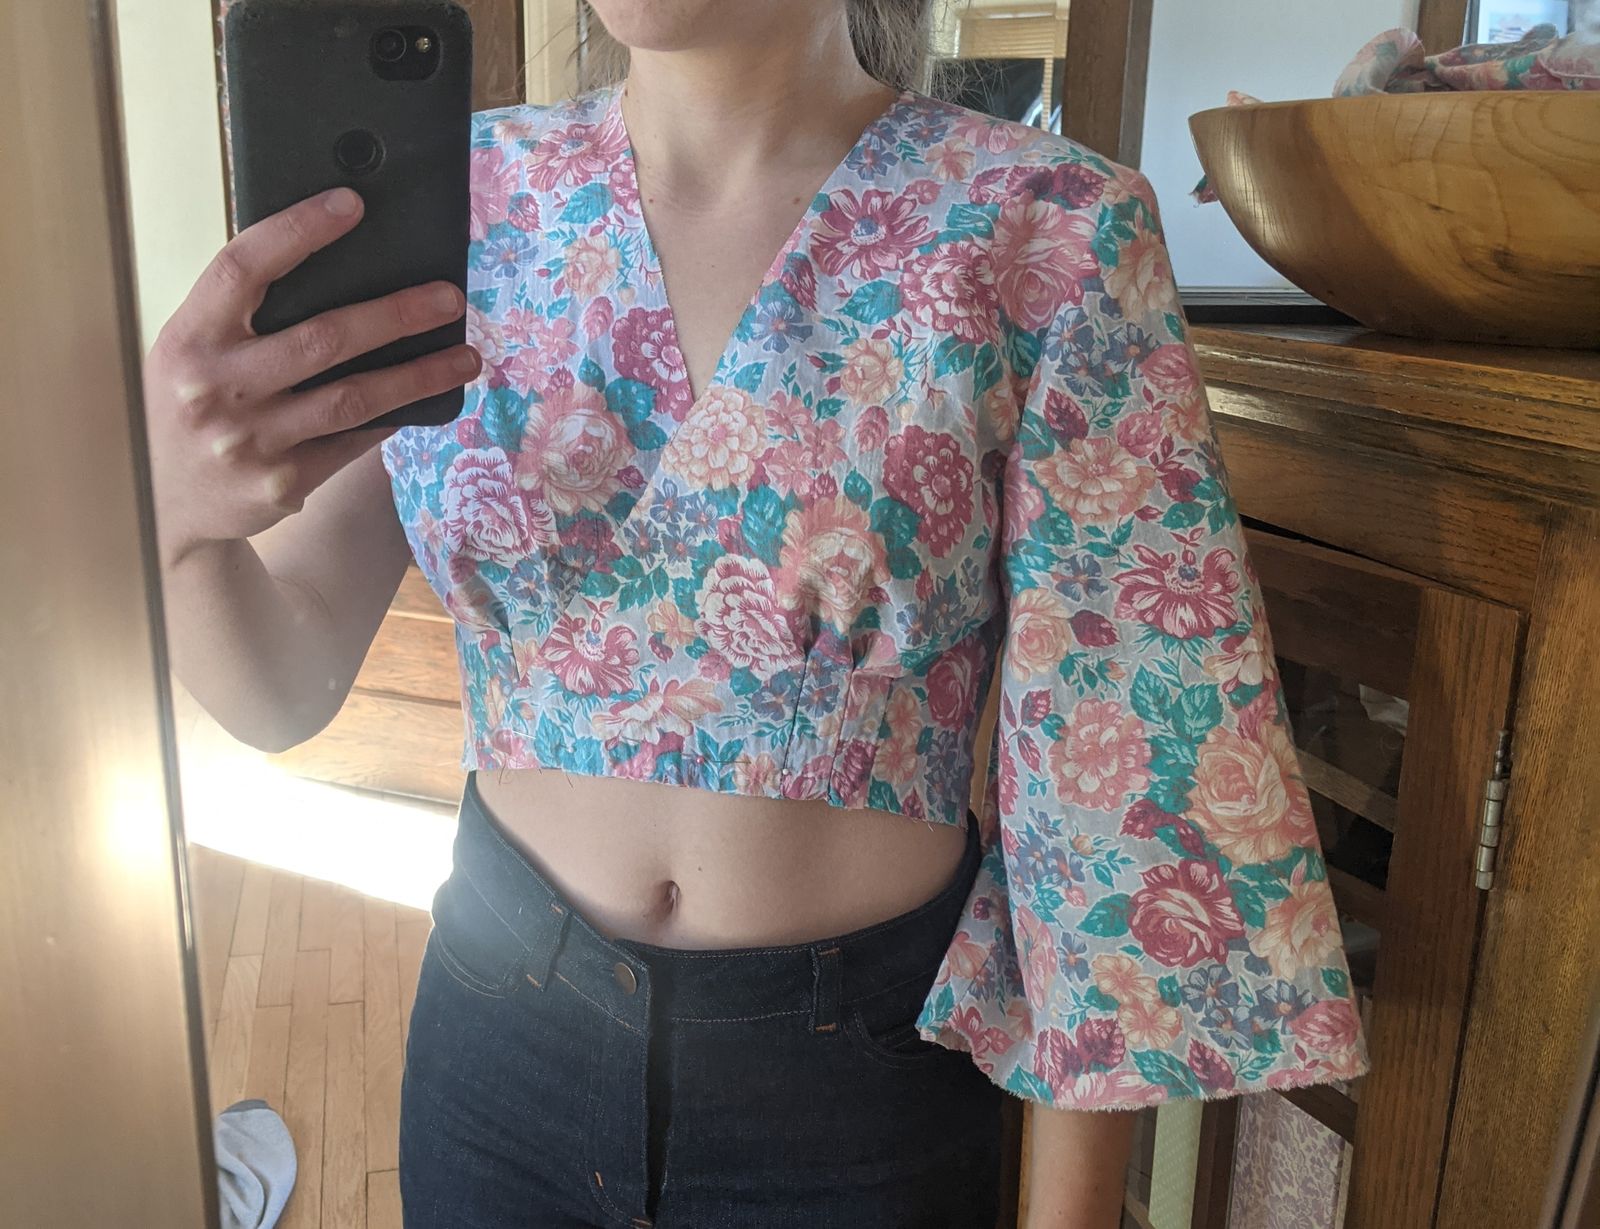
Photo: Bodice Muslin with a set-in sleeve
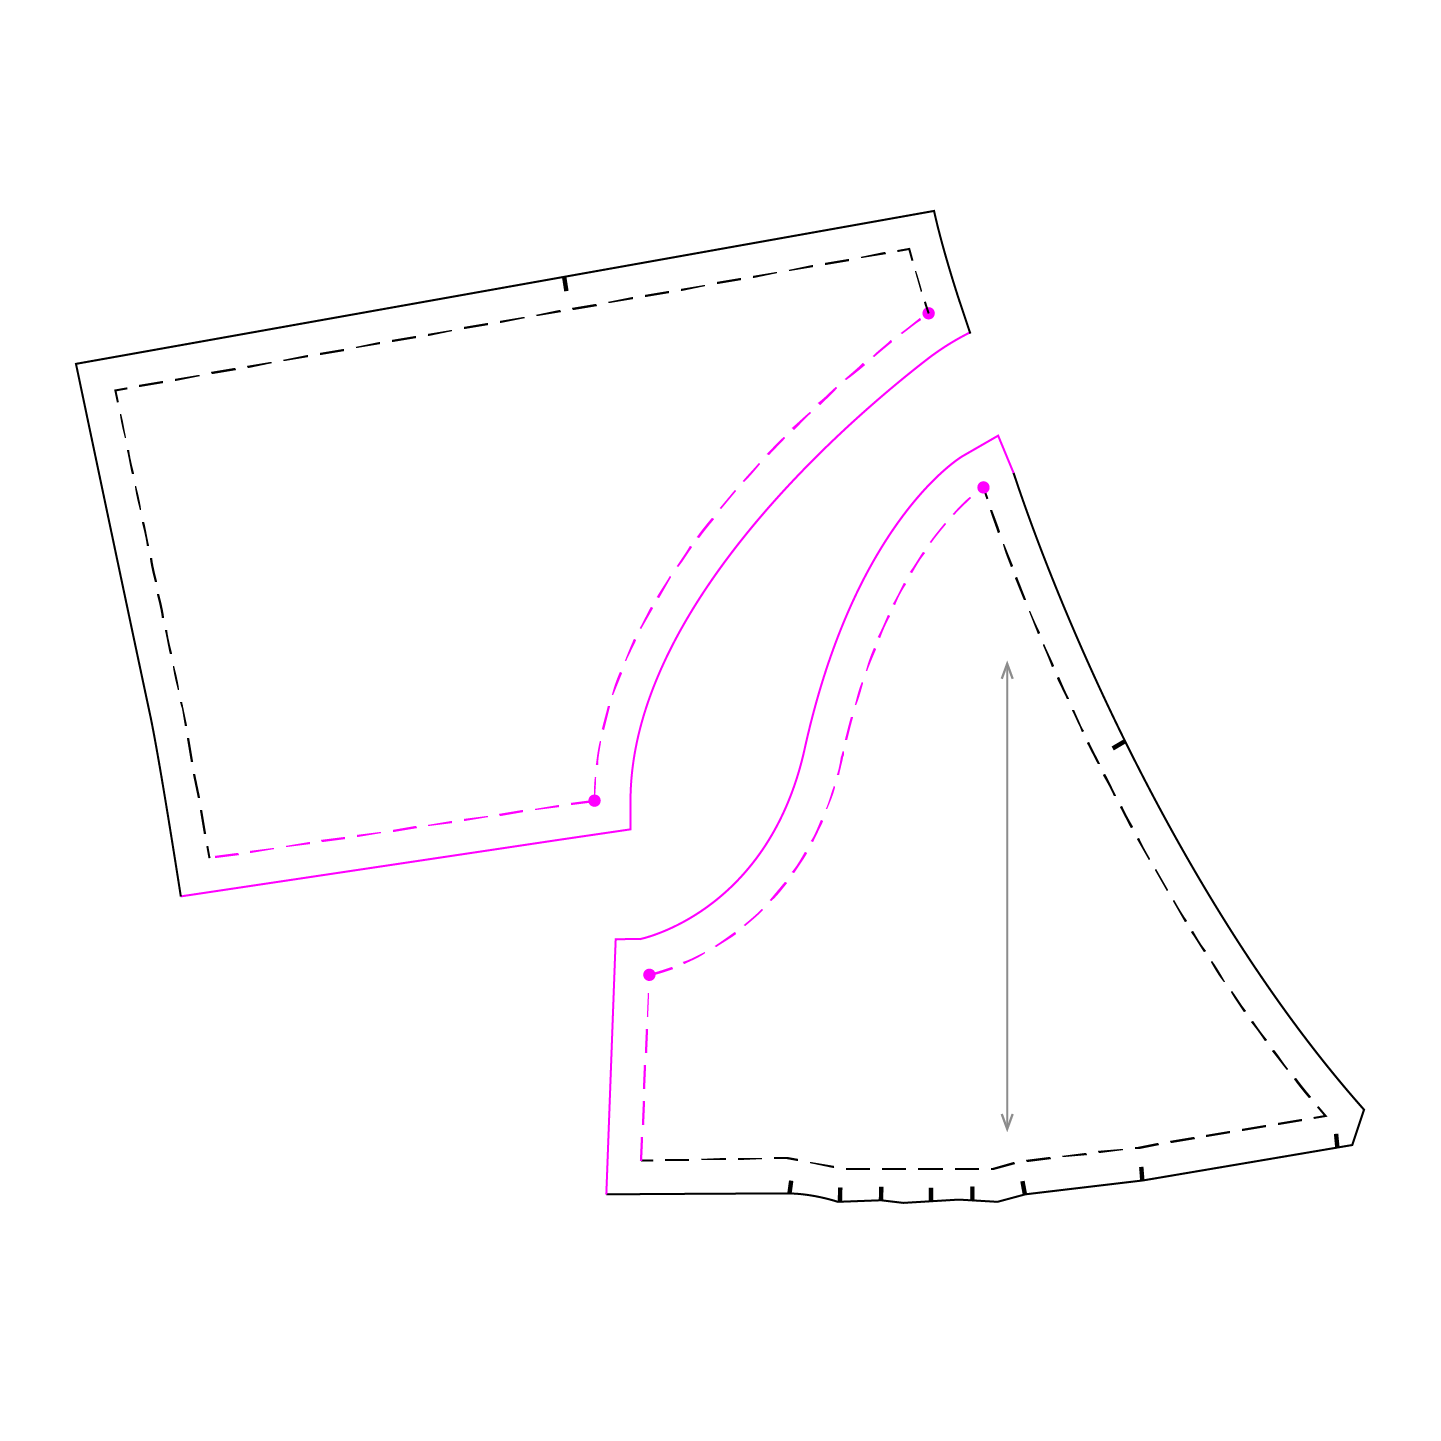
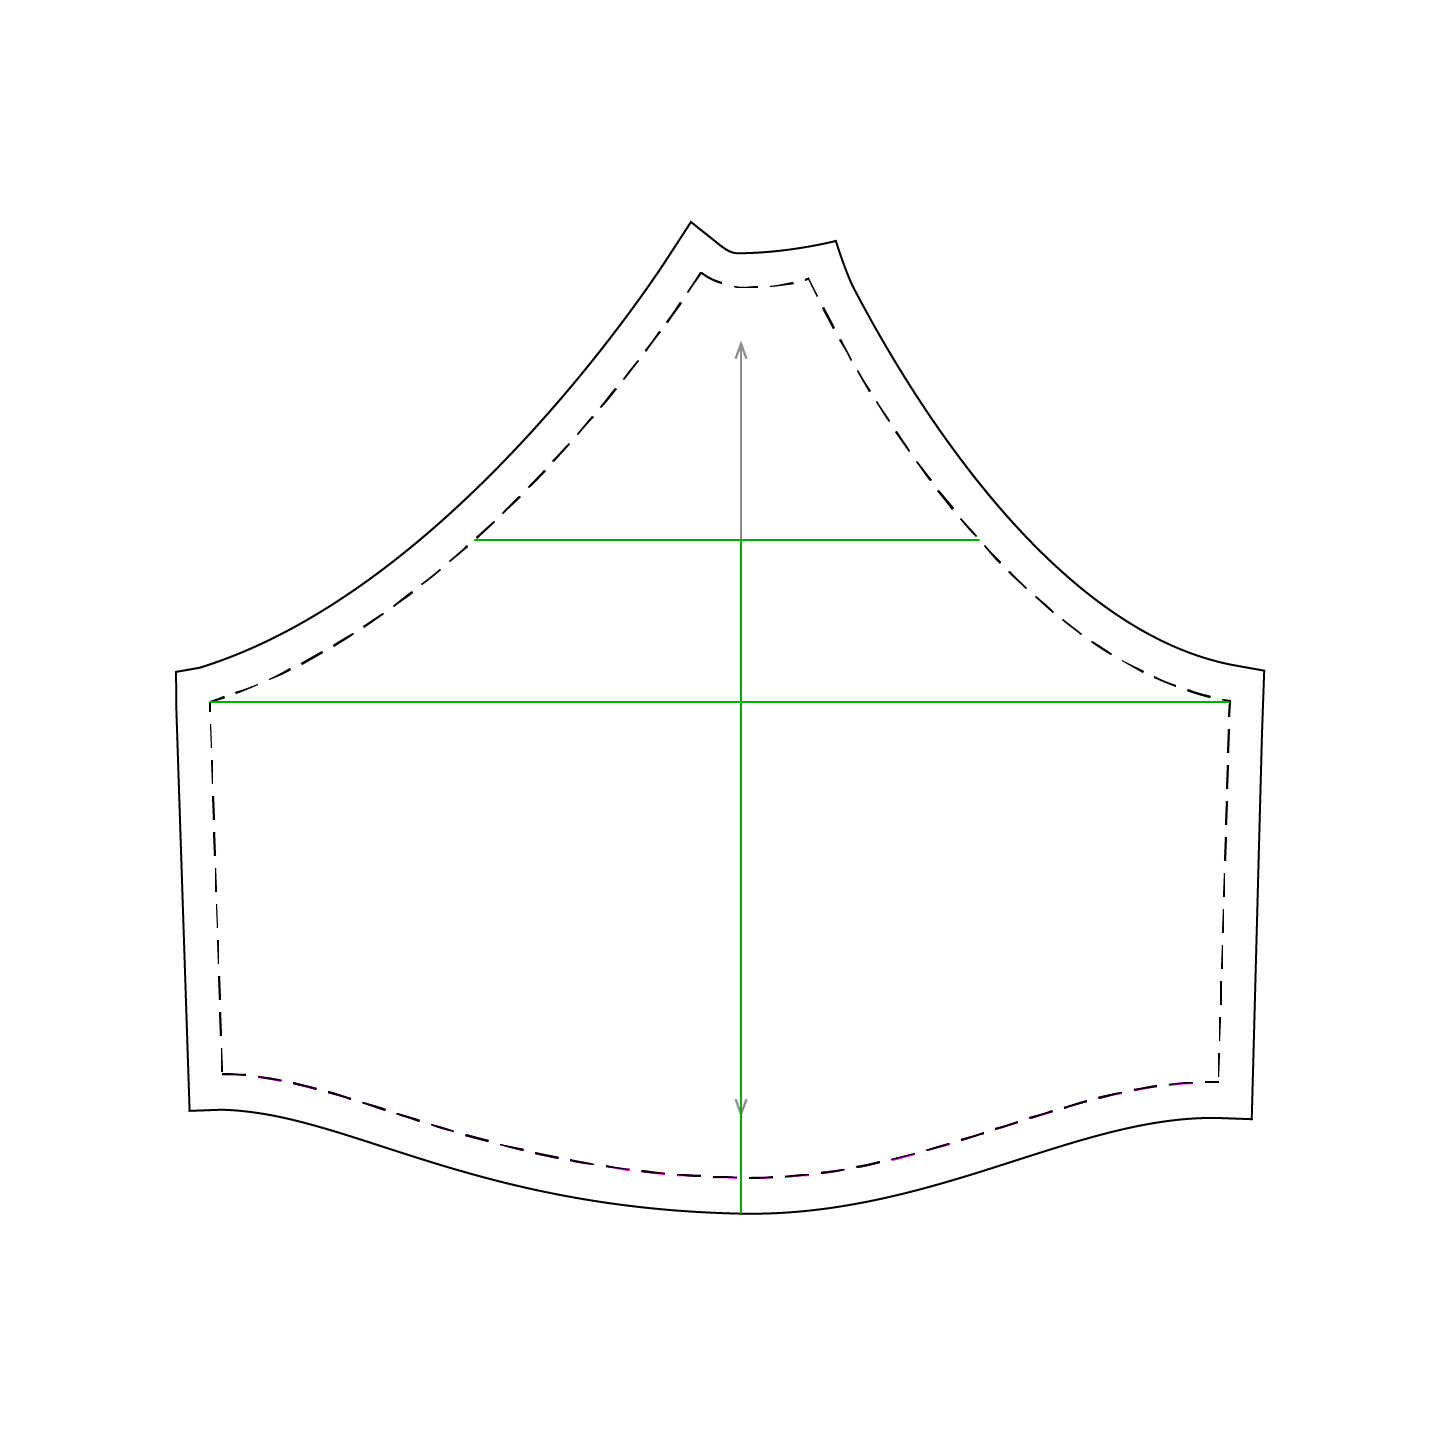
Convert Grown on Sleeve to Raglan
After scouring the internet for "Change a drop sleeve to a raglan sleeve" content and being disappointed, I just went it alone. This is definitely more of a "how to fudge" than "how to draft." I kinda wish I had tried harder to actually draft a raglan.... but here's what I did.
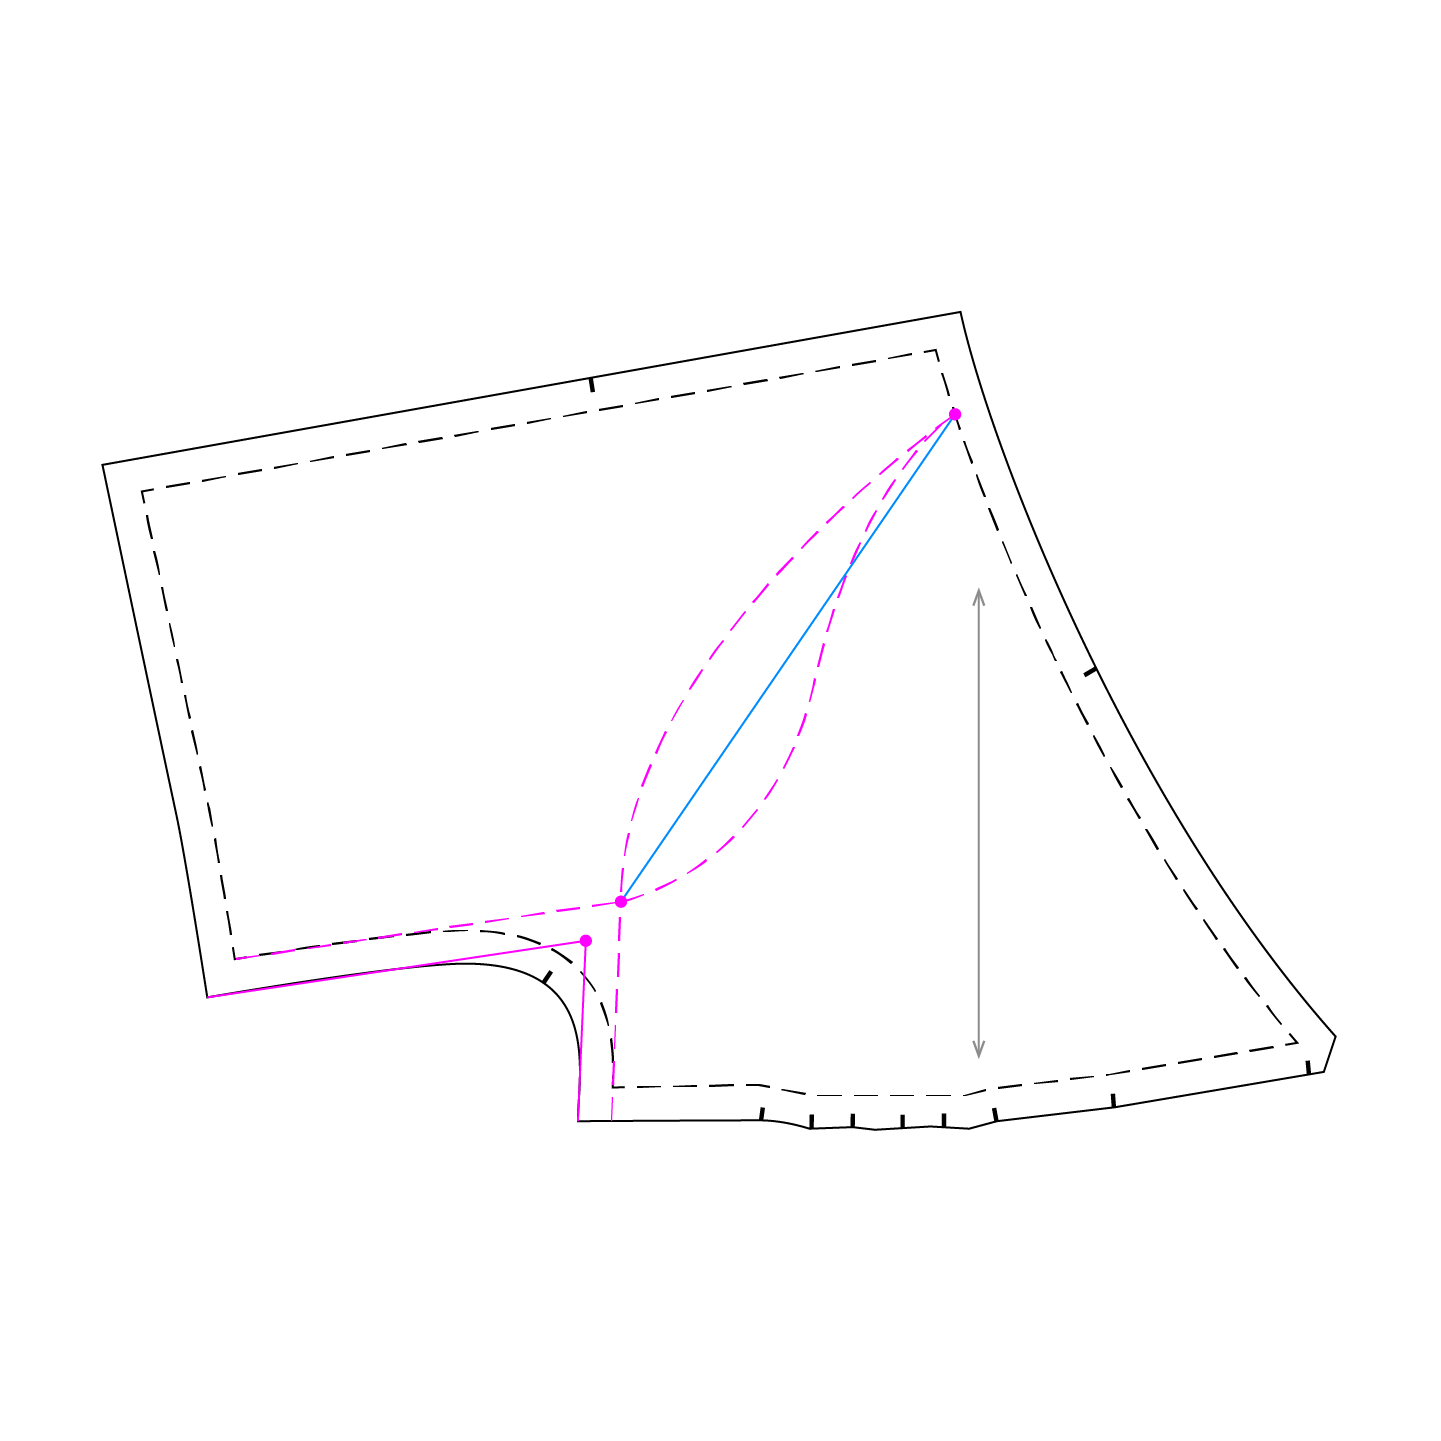
KEY
Solid Line: Cut Line
Dashed Line: Seam Line
Magenta Dots: Mark a Point
Black: Original
Gray: Pattern Markings
Magenta Line: New
Blue Line: Guideline
Gray: Overlap/Remove fabric
Green Line: Cut
- Trace off the front and back bodice pieces from the original pattern
- Draw in Seam Allowances
- Continue side seam and seam allowance lines up in to the sleeve.
- Continue underarm seam and seam allowance lines across in to the bodice until they intersect with the side seam lines.
- Mark the underarm intersection point at the intersecting seam line.
- Measure the front and back side seams (from the waist point to the underarm point) to make sure they are the same length. If they are not, raise/lower the underarm point on either the front or back to true it up. If you move the underarm point, redraw your underarm seam lines.
- On the front neckline, measure down from the shoulder seam the amount you want the sleeve to show and make a mark on the Seam Line . (Check a reference garment or pattern that you like with a raglan sleeve if you want guidance on this number)
- On the back neckline, measure in the amount you want the sleeve to show on the back, and mark the seam allowance.
- On both front and back, draw a guideline (in pencil, this is just for reference) from the mark on the neckline to the point where the underarm and side seams meet. This is roughly the line your sleeve and armhole will follow.
- To draw in my curved armhole/sleeve seam lines I used a reference pattern, The Assembly Line Kaftan. I'd recently made it and liked the raglan line. There are probably more technical ways of doing this, but if you have a reference pattern you like I don't think it would hurt to start there, or at least take a look at the pattern pieces to see what approximate shape you should be aiming for.
- The Kaftan pattern has a shorter armhole depth than the Elodie, so I knew it wouldn't be a direct copy/paste. For both front and back I overlaid the kaftan pattern on the Elodie pattern just to get an idea of how the angles/curves work at the neckline and underarm. I traced in the beginning and end of the line from the Kaftan pattern, and filled in the middle by making a nice shape with a french curve that mimicked the line of the Kaftan. Basically what I did was stretch the curve of the Kaftan pattern out to fit the elodie.
- Once I had some lines penciled in for both the sleeve line and armhole, I measured them with a flexible tape measure to make sure they were the same length. The sleeve seamline was a bit longer on both front and back, so I made the curve shallower to bring the length of the seam down. This was an imprecise but quick process of adjusting the line and checking the length until they matched up.
- The front and back seams will be different lengths, and the back seam will probably be longer. As long as the front sleeve and front armhole seamlines match, and the back sleeve and back armhole seamlines match, it's good.
- At this point, you can use a flexible tape measure to measure up the same amount on your front and back sleeve and armhole seamlines and add some notches. (1 on front pieces, 2 on back pieces)
- At this point, I traced off new pieces to preserve the base in case this first test didn't work and I wanted to make adjustments.
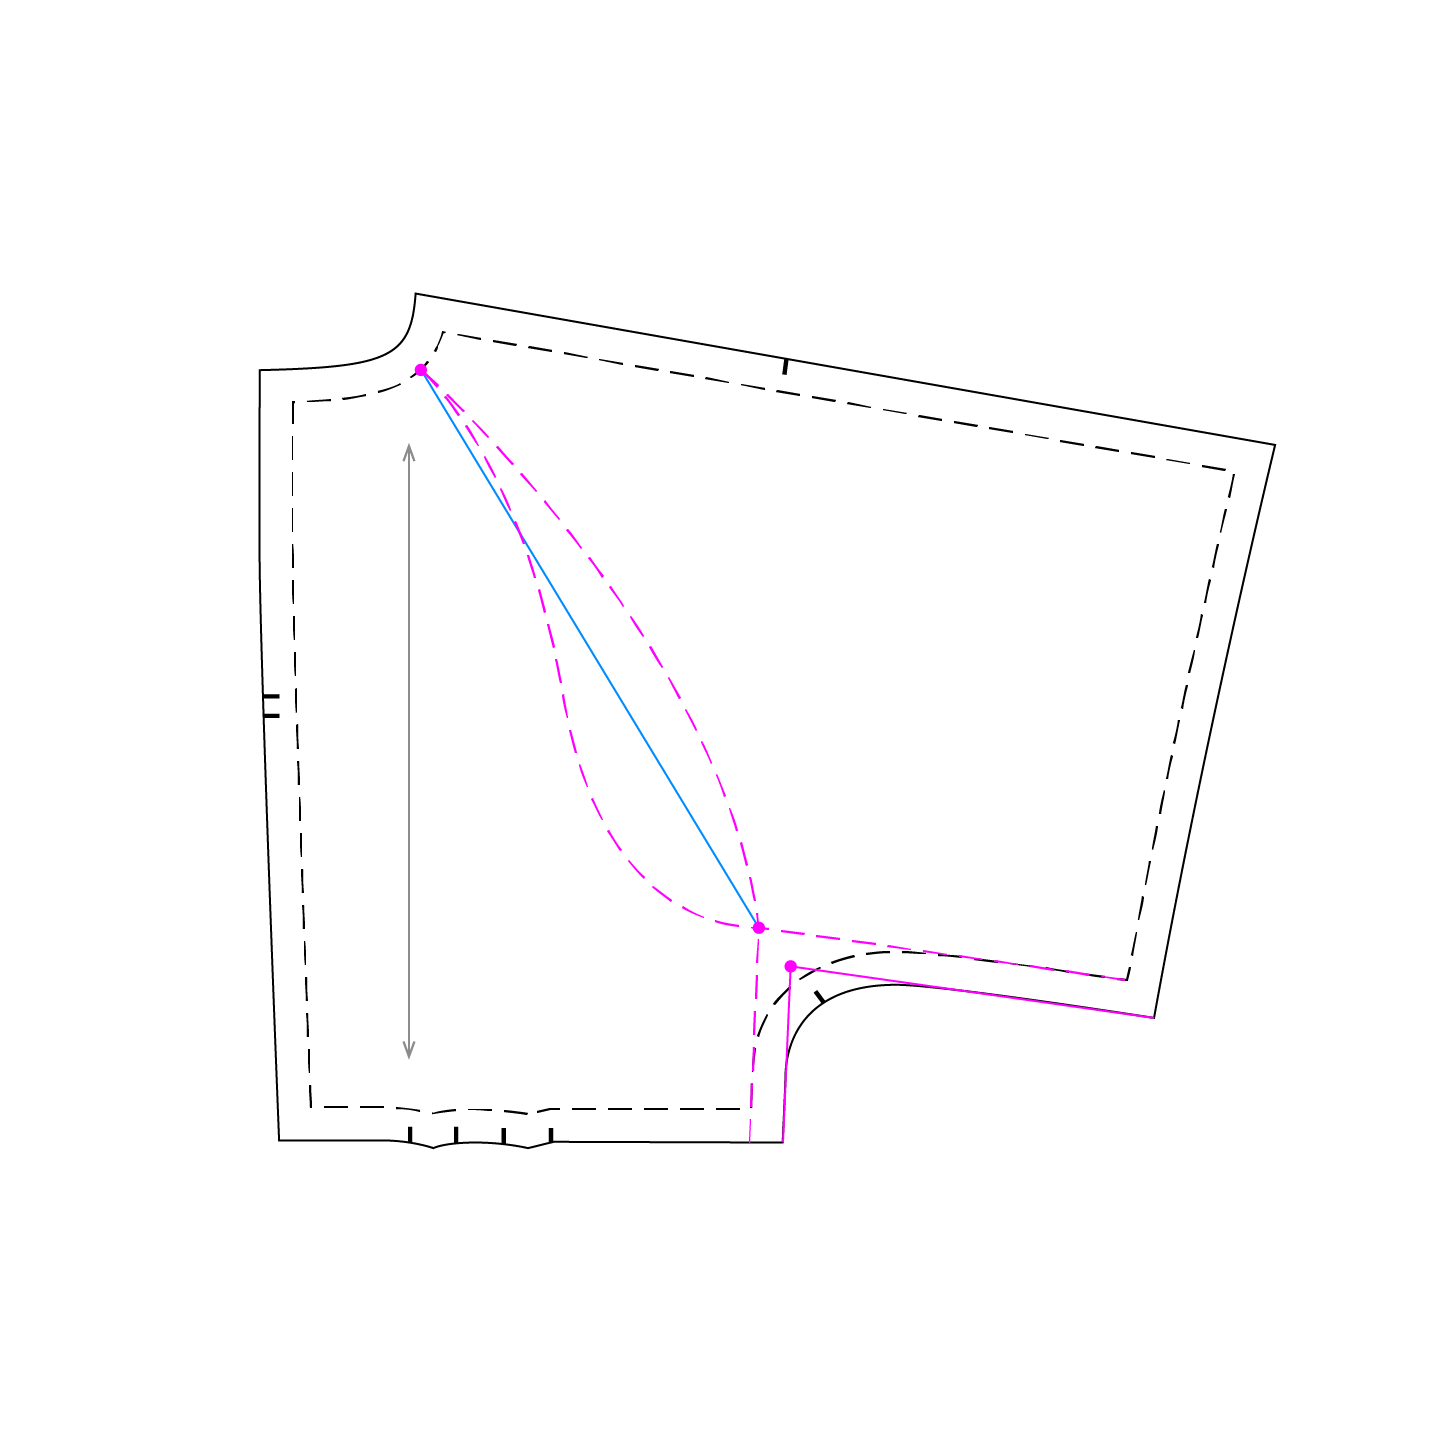
- Trace off the front bodice and back bodice with the new armhole seamlines you just created. Add seam allowance to the armhole.
- At this point, you can decide if you want to keep your back bodice cut in two separate pieces (which maintains the little bit of blousing the original pattern has at the center back) or if you'd rather have a single piece back bodice that is cut on the fold (losing some of the shaping at the center back but streamlining the cutting/sewing process). I decided to cut mine on the fold.
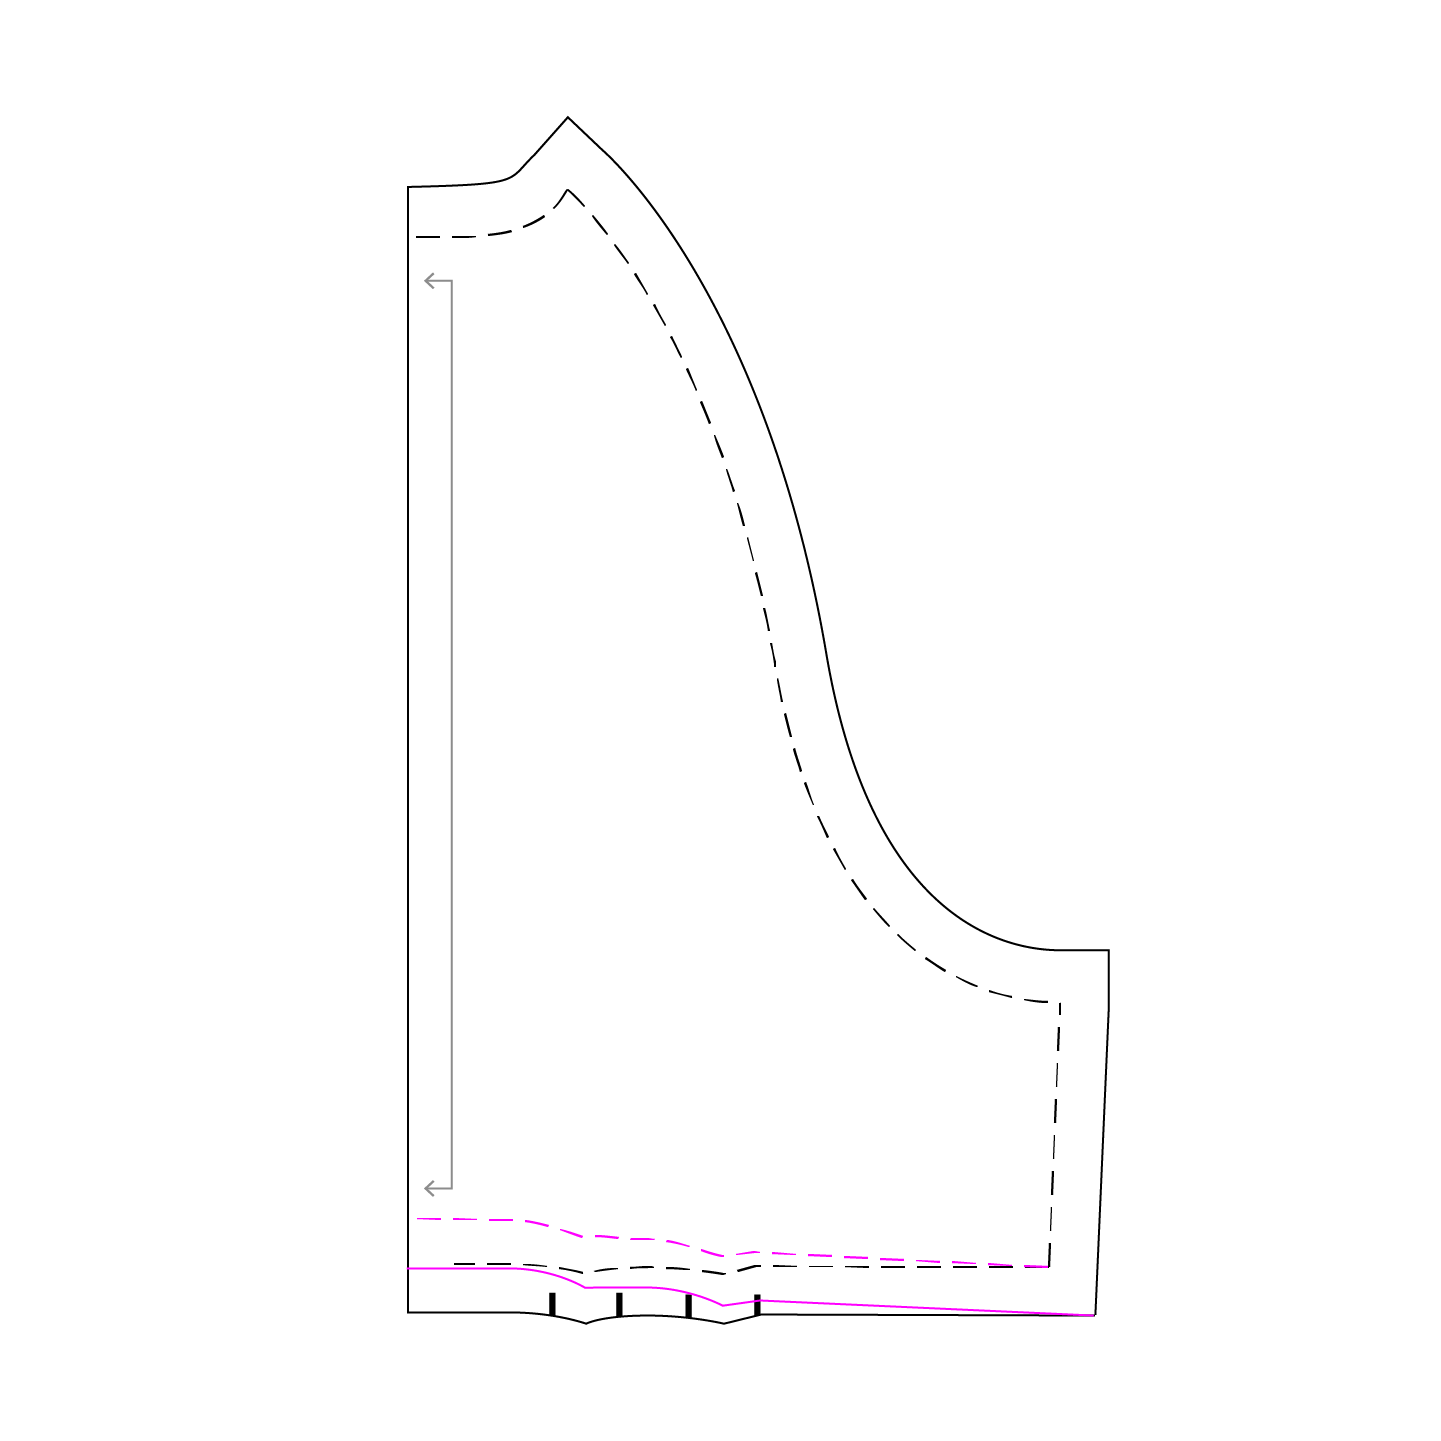
- Trace off the front and back sleeve with the new sleeve seamlines you just created. Add seam allowance to the sleeve at the armhole.
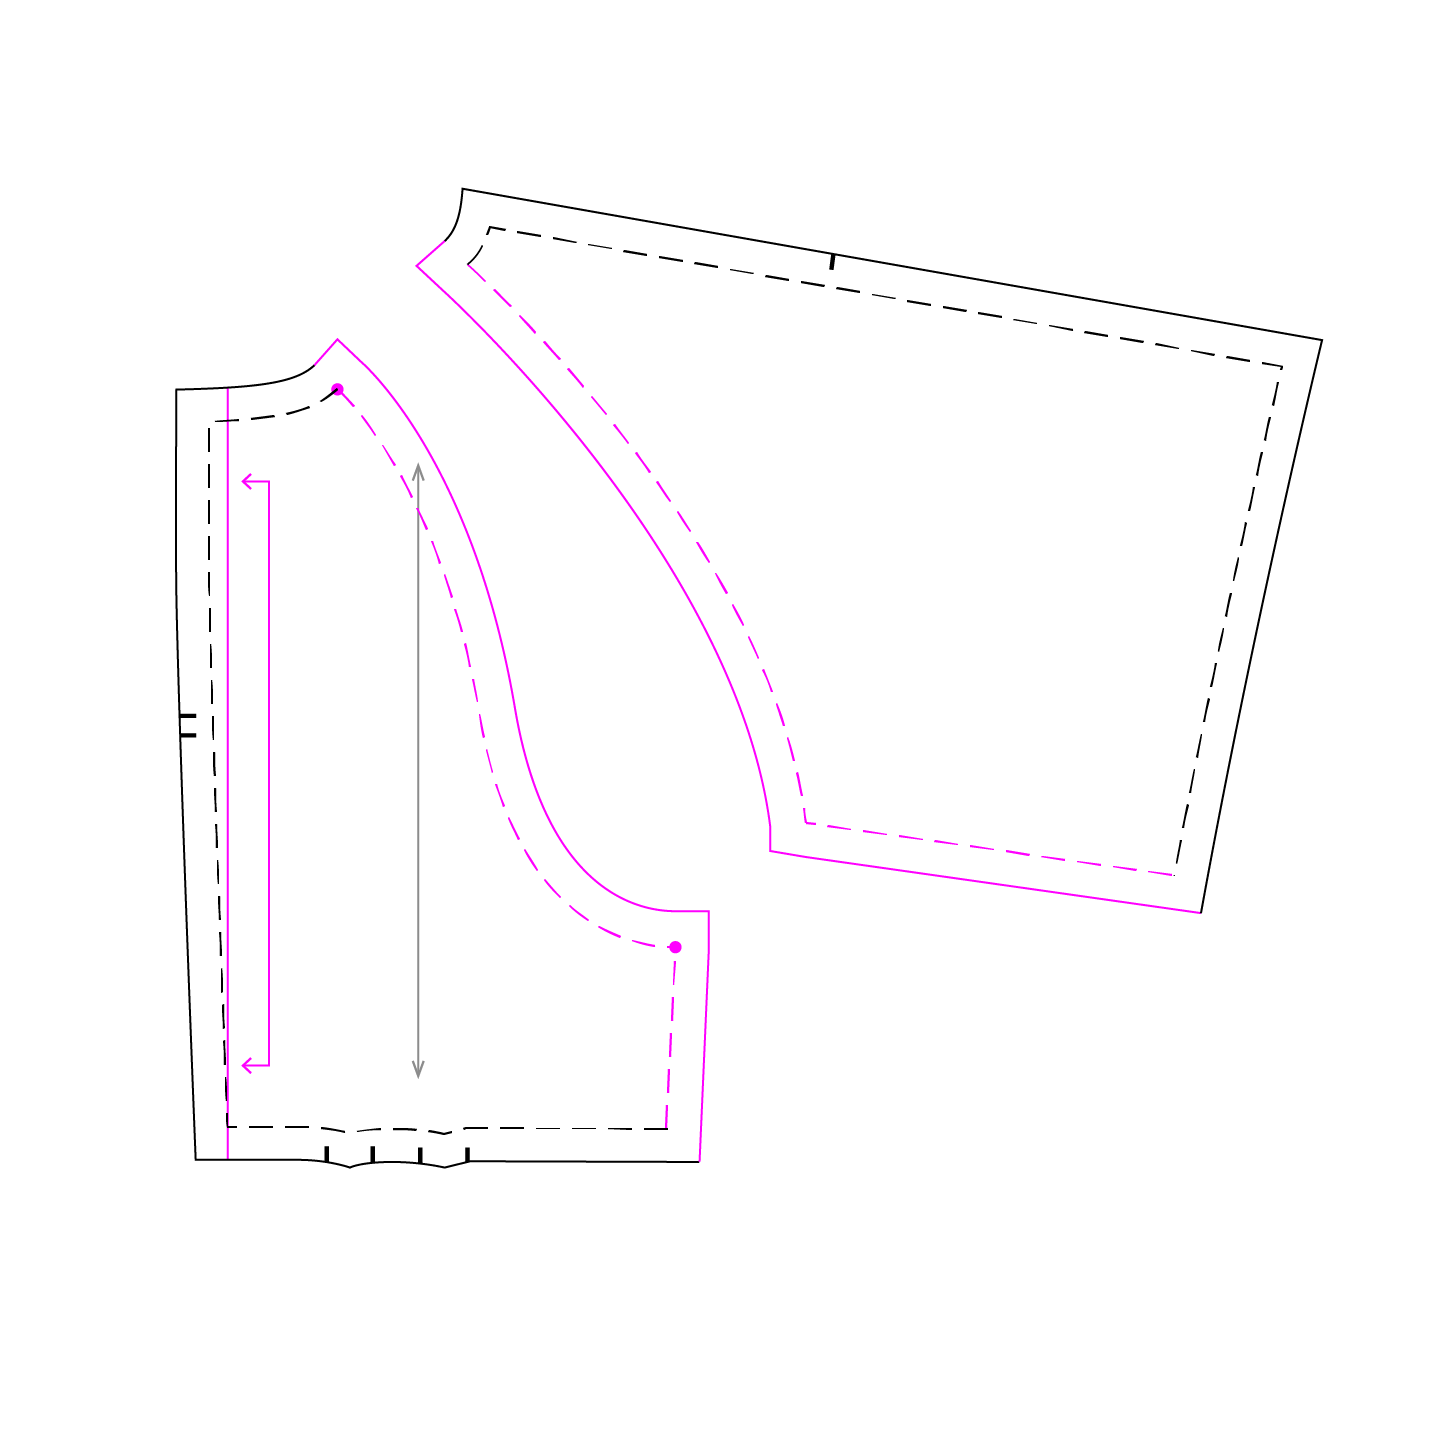
- Overlay the front and back sleeve pieces so the shoulder seamlines match up. Line up the neckline area and hem and tape the pieces together. The Elodie has a straight shoulder seam so this should line up nicely. Your new sleeve grainline is the original shoulder seam, straight up the middle of the sleeve. Check to make sure the line between the two underarm points is exactly perpendicular to the grainline.
- Fold the sleeve in half/along the grainline and true up the angle of the underarm seam if they're uneven
- Measure the underarm seams of the sleeve to make sure they are the same length. Adjust if not.
- I added some extra length to my sleeve at the middle to help it hang straight at the sleeve hem when wearing. I think I added ~1" at the center and blended into a nice shape at the underarm seam.
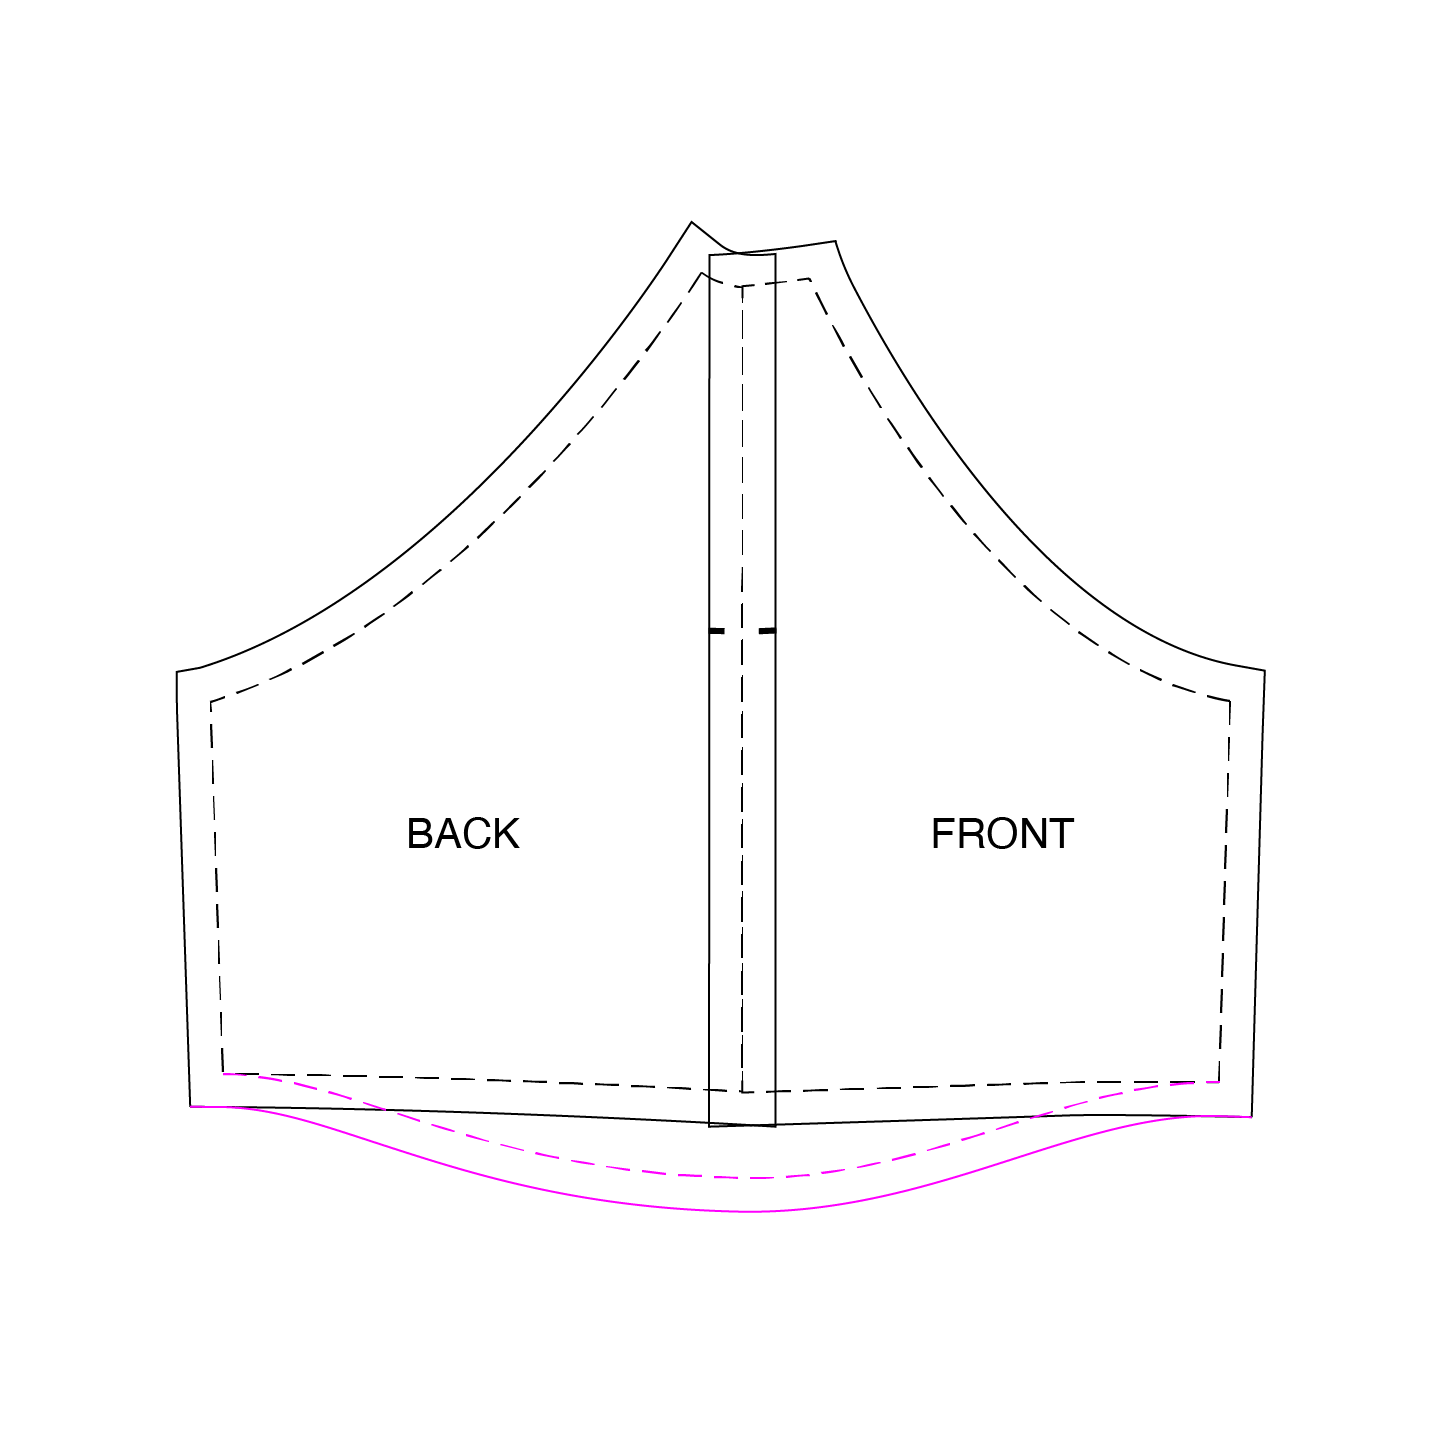
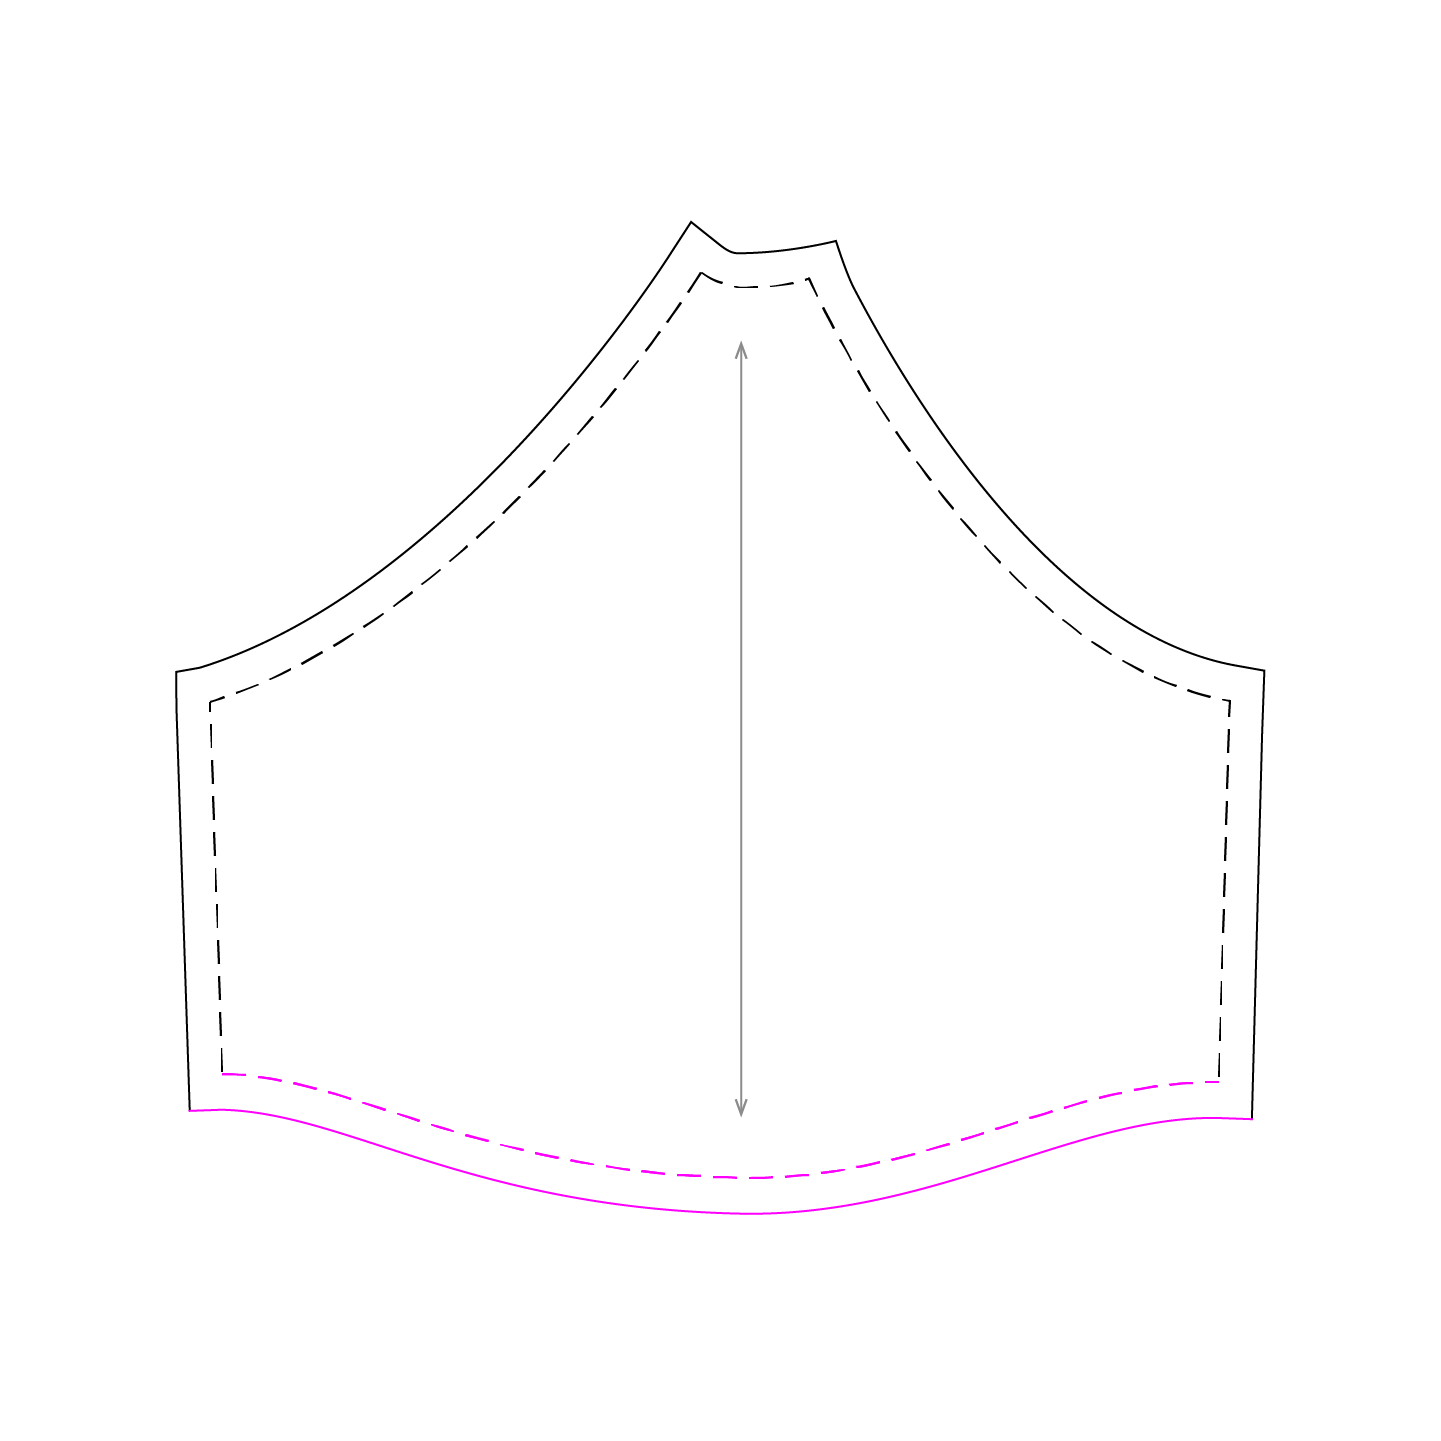
- If desired, cut all your pieces out at this point and test out your new raglan bodice! I tested at this point and made some additional adjustments, so you can also make the additional adjustments below and test your sleeve after those.
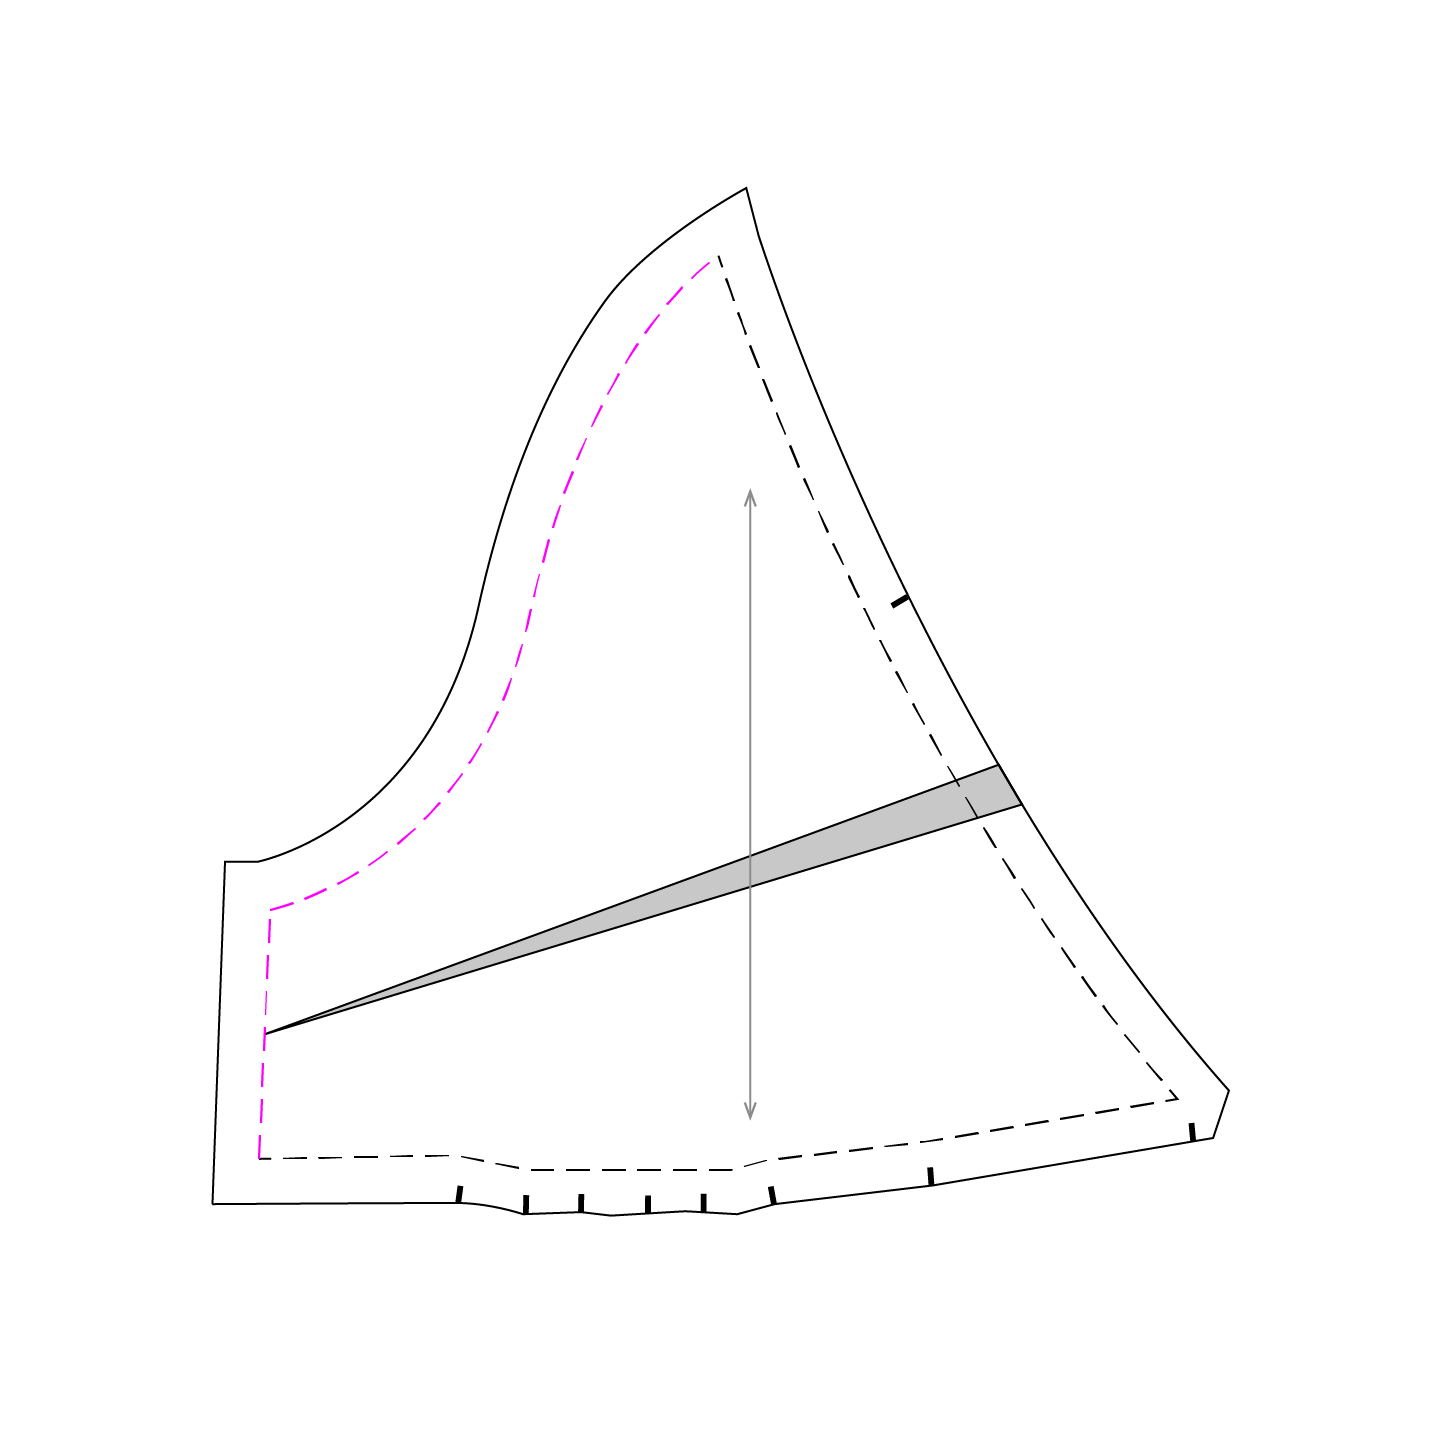
- My sleeve was pulling and stressed around the shoulder. I needed some extra room in the cap height and maybe some extra fabric down the middle to give it more room to relax.
- I cut my sleeve pattern as pictured below, and spread out to give myself 3/4" extra in the cap and 1" extra at the underarm. You can see this also adds quite a bit of volume around the arm as well. (cut up the old shoulder seamline/new grainline to partway up the shoulder. Cut lines perpendicular to the grainline up to the seam allowance in the "cap" area, and along the bicep line to the underarm point.
- Traced off my new sleeve outline and drew in a nice hem curve again.
- Tested this new sleeve and it was perfect!
Fit Adjustments
Found Elodie a mercifully easy to fit pattern. My main adjustment was to pinch 1/2" out of the bodice because I had some gaping. According to the Closet Core fitting post, this amount can be removed at the shoulder seam to achieve the desired fit. On the raglan piece you could remove this amount from the top of the front bodice, but I decided to slash a line from the neckline through the whole bodice to the underarm seam and overlap to remove the extra bit of fabric. I didn't really feel like messing with the new sleeve/shoulder I had just worked "so hard" on.
The straight size 4 fit nicely, but I decided to grade out/add a bit of extra room at the side seams (1/2") for some (hopefully) added longevity. Also had to add that same amount to the waistband pieces and skirt pieces at the side seams.
My last adjustment was to shorten the center back of the back bodice by 1/2". Elodie is designed to have some blousing at the center back when done up, but I usually have problems with waistbands drooping in the back and sticking out under waist ties. I hope raising the center back just a bit will keep the waistband from drooping and looking sloppy.
Draft a new facing
After changing the sleeve type and making some fit adjustments, I needed to draft new neckline facings. Since I planned to line this dress, I made the back and front facing pieces meet in the middle of the raglan sleeve to reduce bulk at the sleeve seam lines.
Lining
Closet Core has a tutorial on this! I had some white bemberg in my stash and to be honest I would prefer a more closely matching color in case it peeks out anywhere, but I had this and it works.
I still wanted facings at the neckline so the lining wouldn't peek out so drafted lining pieces for the bodice and sleeves that would be sewn to the facings.
The lining for both the skirt and bodice are attached to the dress at the waistband. The bodice and lining are chainstitched together at the armpit. The sleeve lining is also chainstitched to the underarm seam to keep it from bunching up. The sleeve lining is shorter and finished separately from the main sleeve so it can sit loose inside the sleeve.
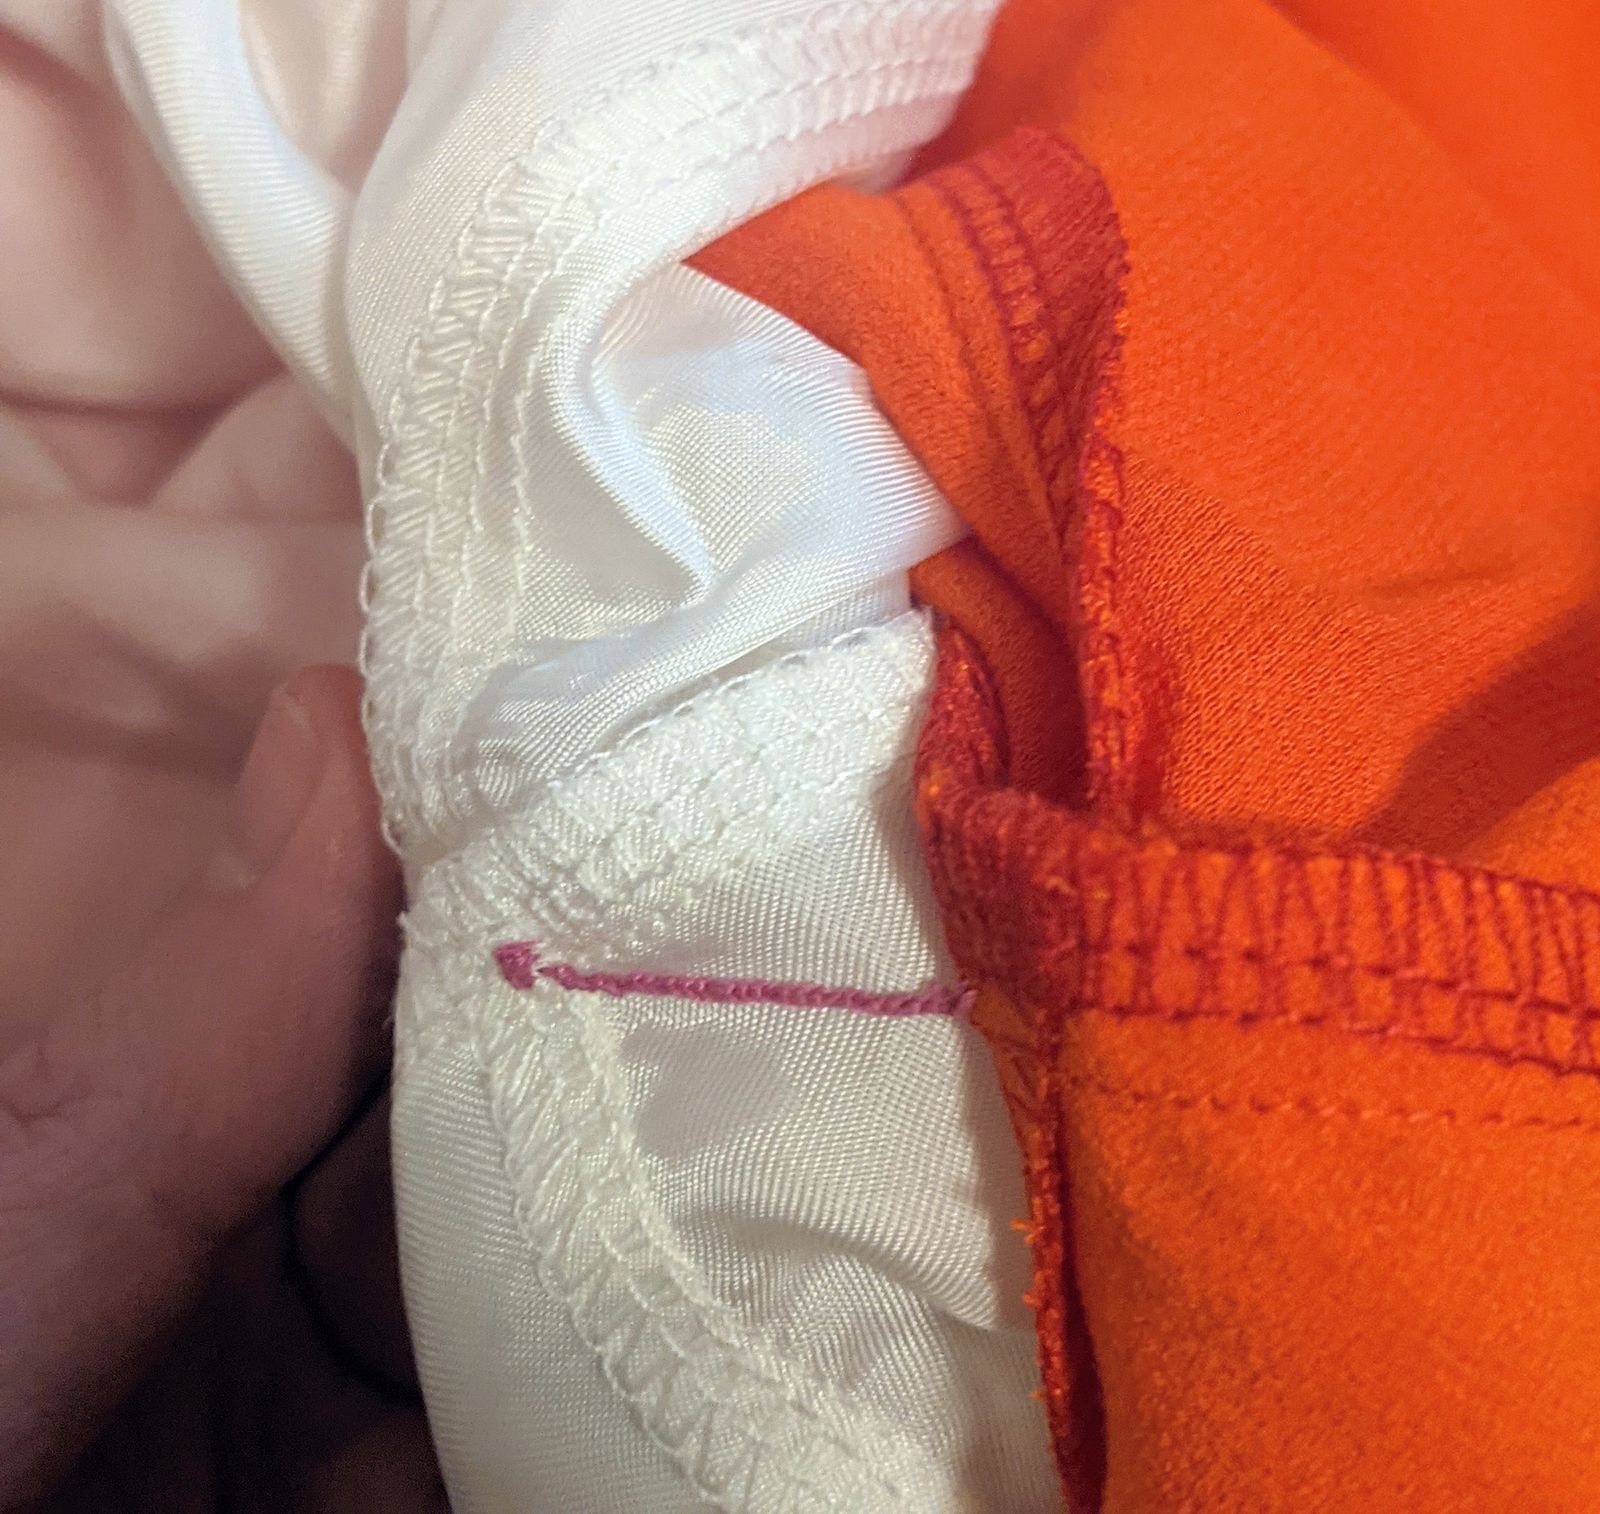
Underarm

Sleeve Hem
The front skirt lining is narrower than the main fabric by 2" at the center front and finished separately so it won't be seen when walking. Closet Core recommends that just the right front lining be cut narrower as it is wrapped on top, but both of my front linings ended up shorter due to limited lining fabric.
Because of the angle the skirt center front is cut at, the lining was still poking out the front if cut at this angle. On the right front lining, I cut straight down the grainline from the new center front to keep the lining hanging straight and not poking out.
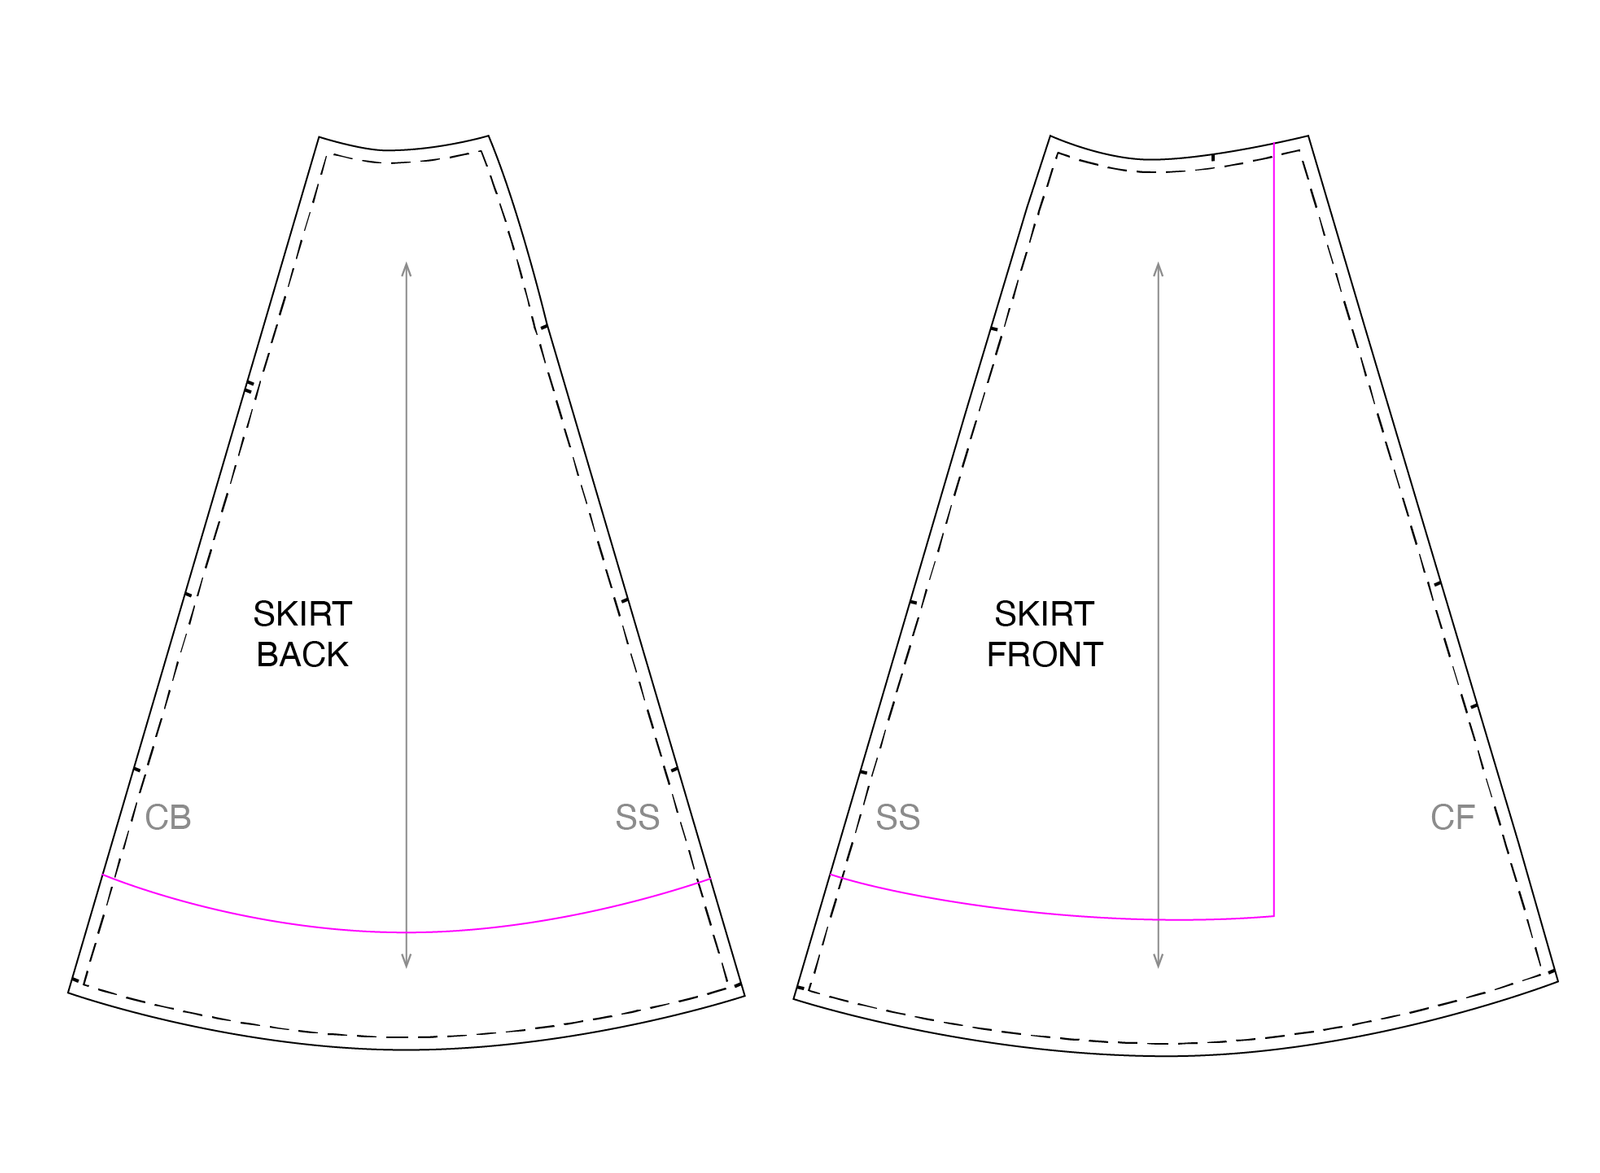
How I cut my linings: (the left front lining could be cut the full width of the skirt since it wraps under)
Both sleeve and skirt linings are shorter and finished separately than the main skirt.
Finishing
The sleeve and skirt hems, and CF edges of the wrap skirt of the main dress fabric were narrowly serged, folded under 2x, hand basted in place and hand blind hem stitched down. The skirt took so long but was way worth it!

Handstitched Hem
The hems and CF wrap skirt edges of the lining were serged, folded under 2x and machine stitched down. Can't be fancy all the time.
Next Time
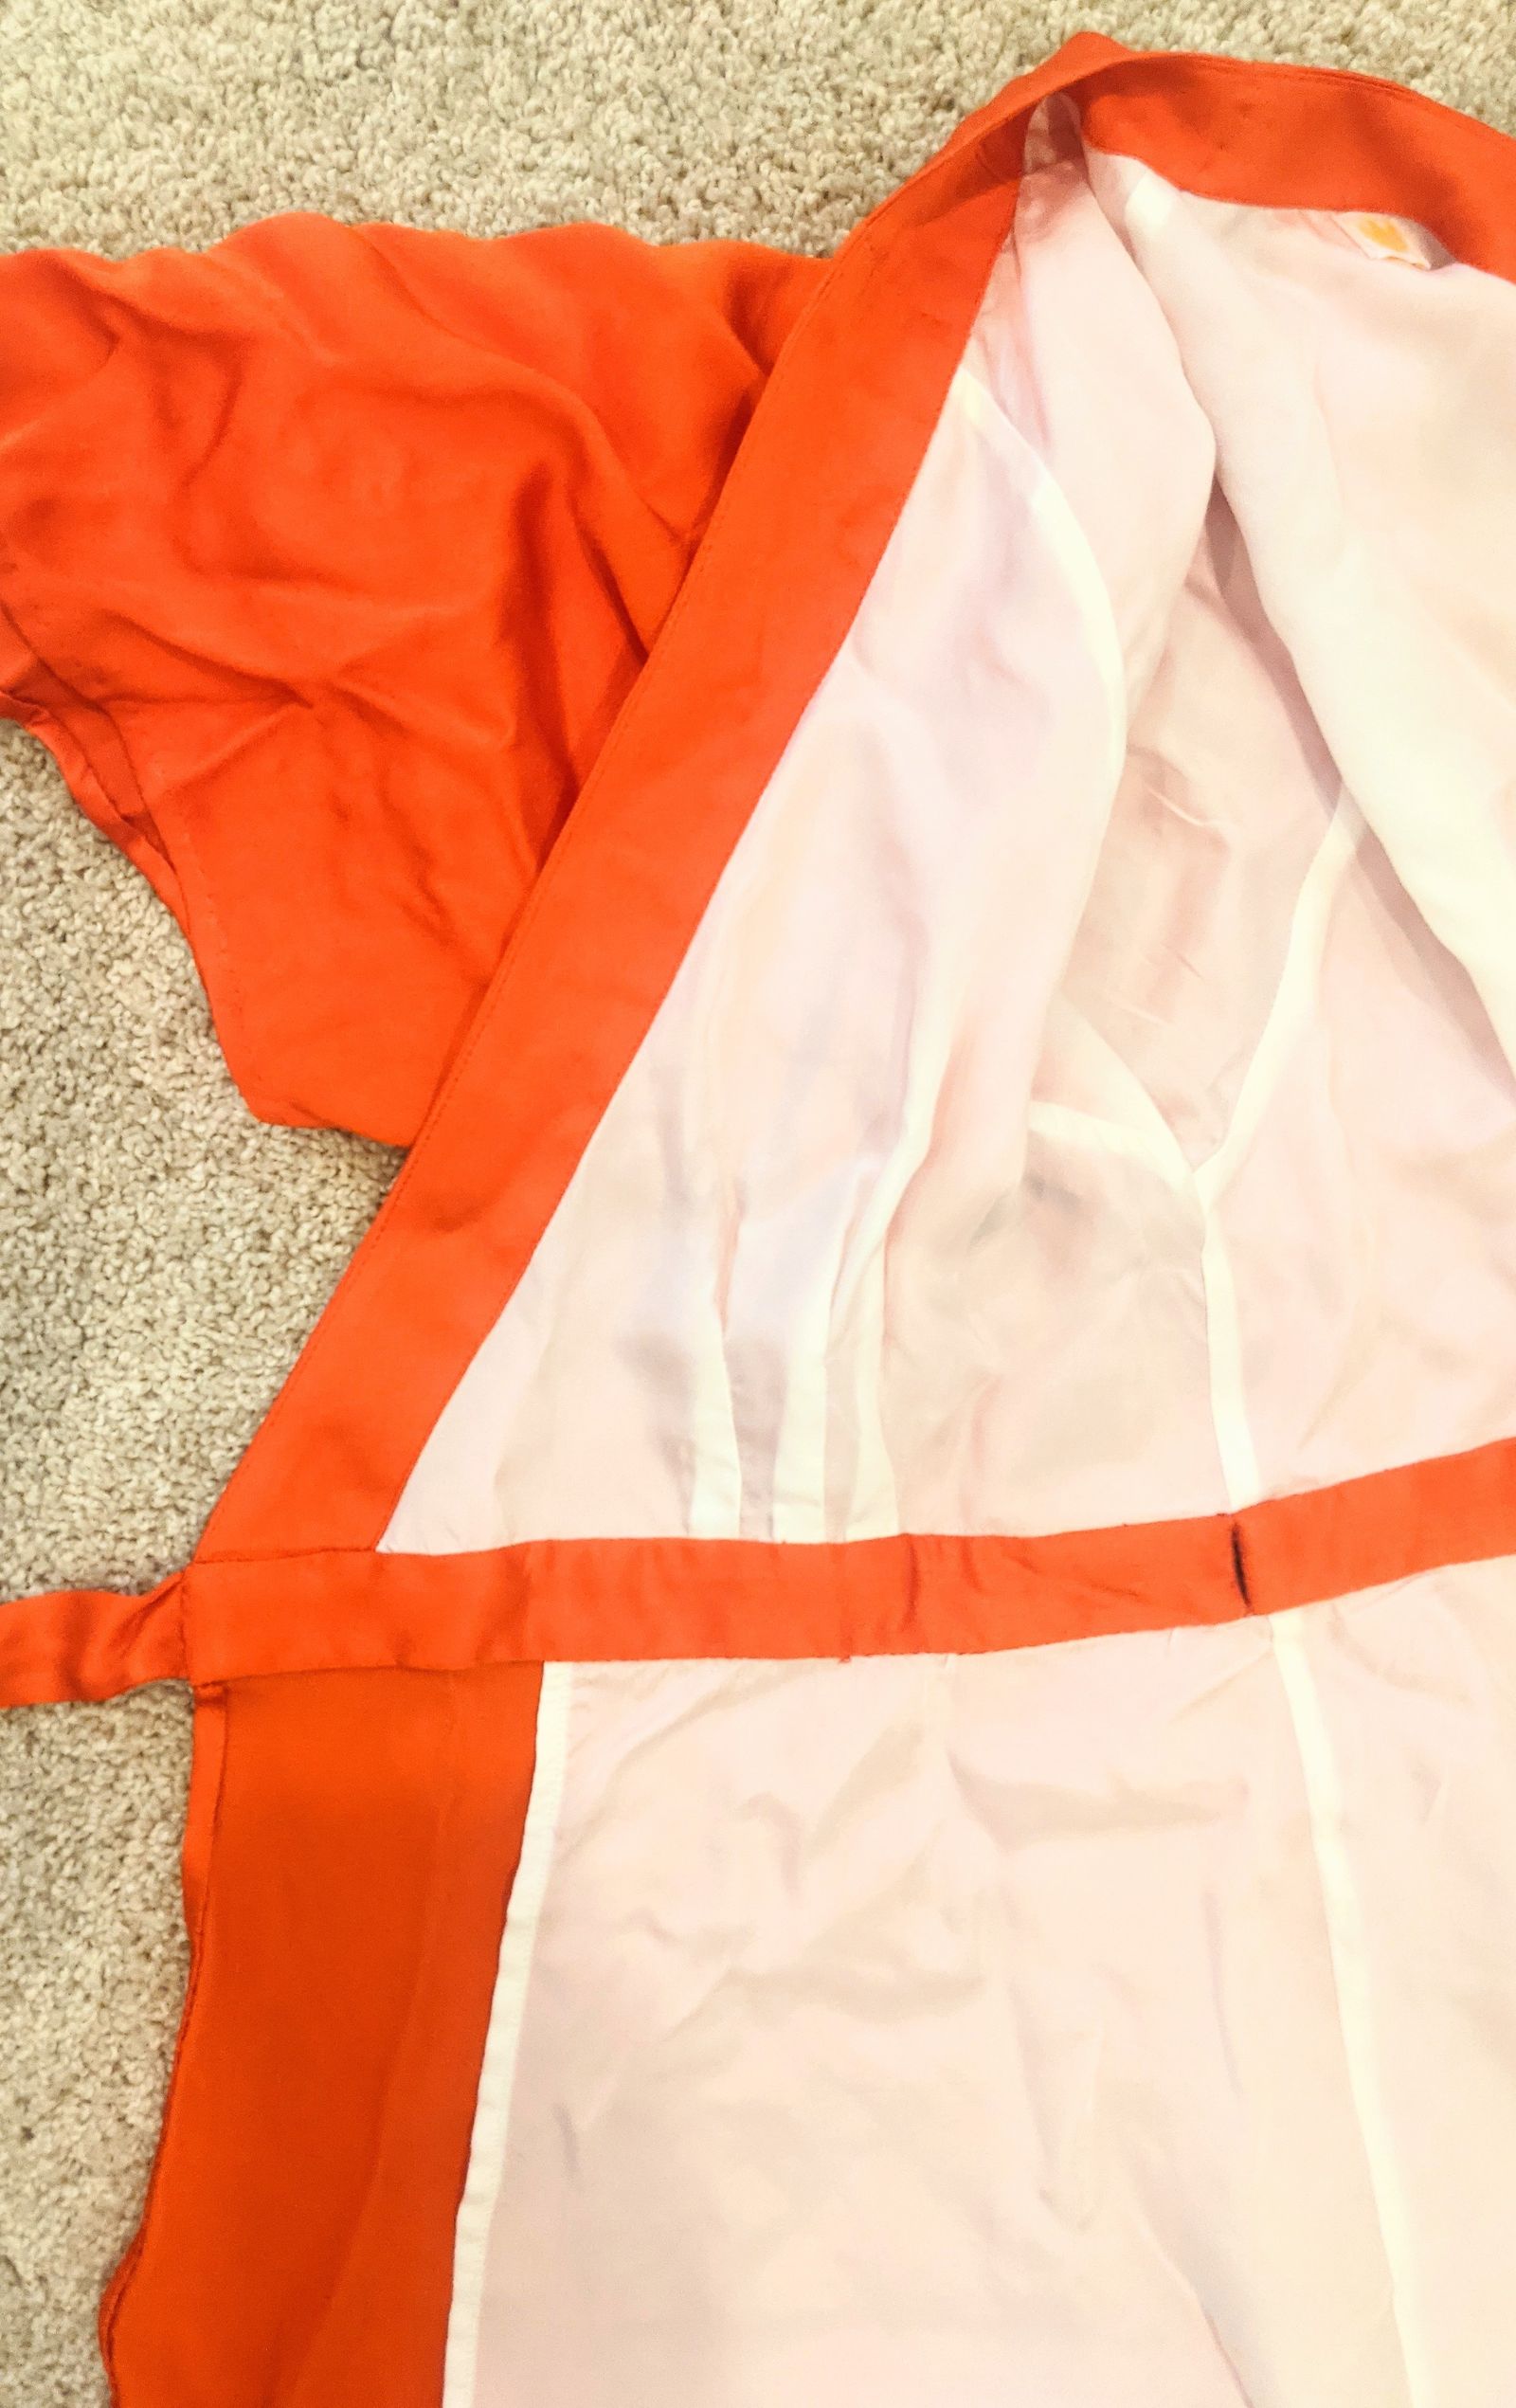
Next time I make this with the raglan sleeve, I'd be more careful in easing the sleeve to the front bodice. The left side of the bodice (when worn) doesn't sit perfectly and I think it has to do with the sleeve not being eased in perfectly. It also might have something to do with how the main bodice is sewn to the lining? I might have to do some unpicking to try and fix it.
This photo shows the left neckline not sitting perfectly. Something I might unpick to try fix...